
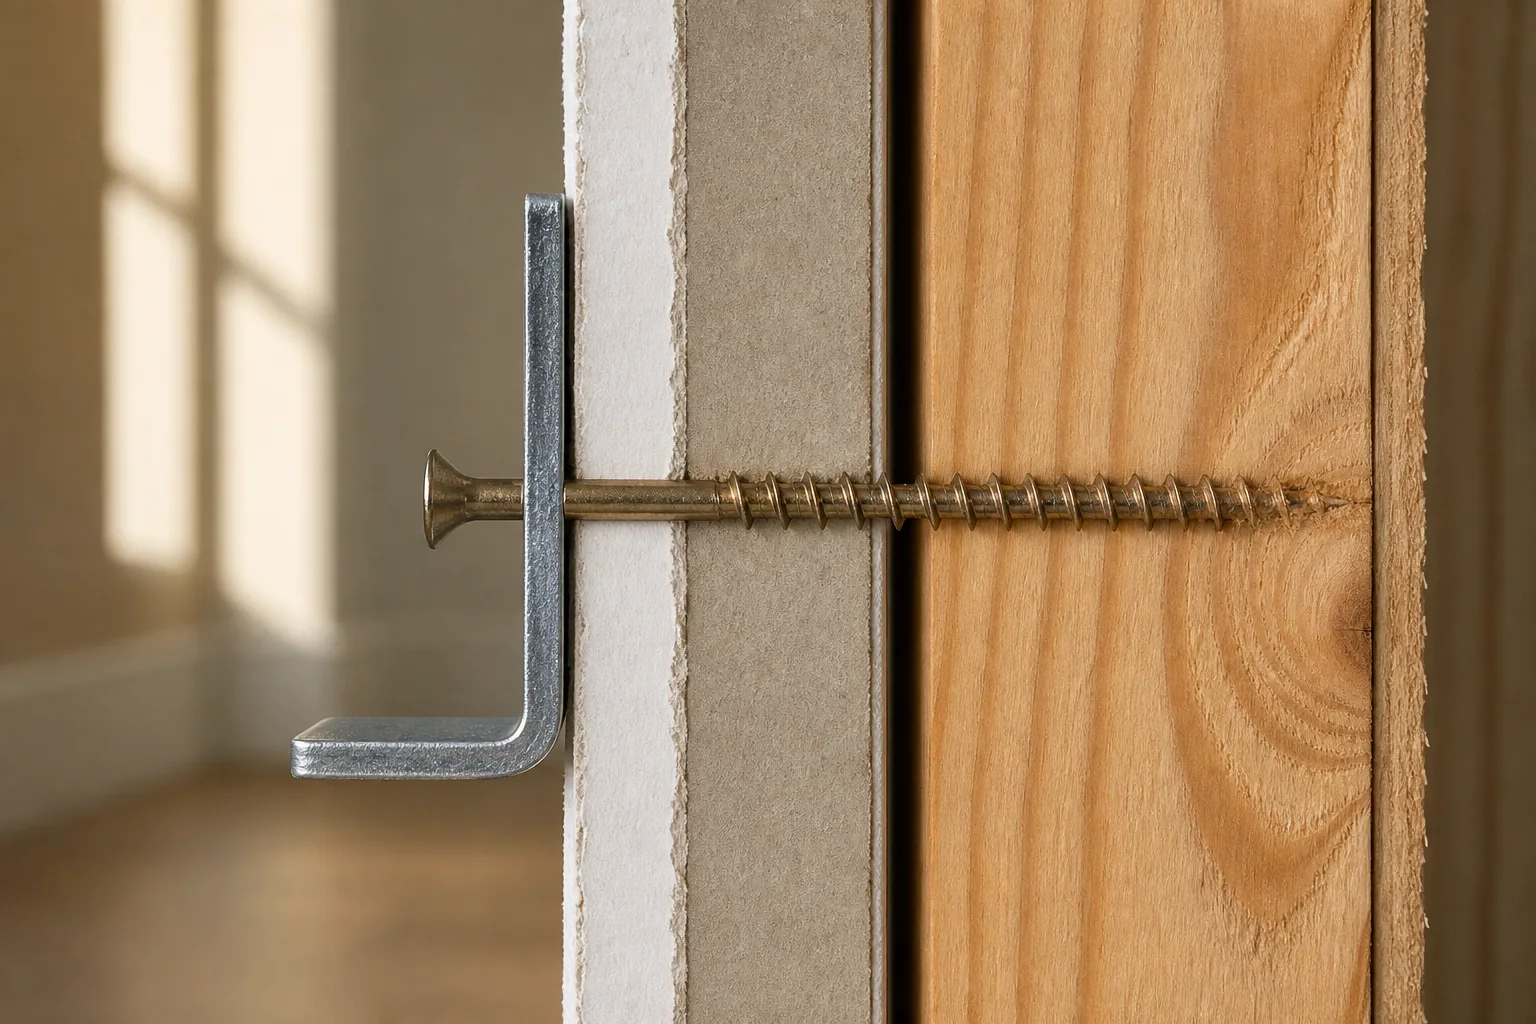
Direct answer: use the maker's wood-embedment requirement
The correct penetration into a wood stud is the minimum engagement in sound wood required by the instructions for the exact mounted object and fastener system. There is no single safe number for every shelf, television mount, cabinet, mirror, structural screw or lag screw. Load direction, bracket geometry, screw diameter, pilot hole, wood condition and consequences of failure all change the connection.
If the instructions supply a fastener, use it as directed. If they name a fastener specification or minimum wood engagement, preserve both. When the instructions do not cover your wall assembly or do not provide enough information to select a substitute, contact the manufacturer or use a qualified installer rather than importing a depth from an unrelated project.
Calculate the full screw length, not just embedment
Required total screw length equals the thickness of everything before the stud plus the maker-required engagement in sound wood. Measure the bracket at the actual fastener hole and include the washer, spacer, tile or panel, drywall, furring and any verified gap. USG documentation shows that gypsum panels are sold in multiple thicknesses, so treating every finished wall as one-half inch can create a real stack-up error.
Measure length from the reference point used by the fastener maker—commonly under the head for a protruding-head screw, but not universally. Then confirm that enough usable, full-diameter thread reaches the stud. A tapered tip, unthreaded shoulder or countersunk portion should not be counted unless the published instructions include it.
| Stack component | What to record | Why it matters |
|---|---|---|
| Bracket and washer | Combined thickness at the hole | This length clamps hardware but is not wood engagement |
| Spacer or standoff | Actual compressed thickness | A supplied spacer can consume a large part of screw length |
| Wall finish | Drywall, tile, panel or other verified layers | Finish thickness does not count as stud penetration |
| Known gap or furring | Measured only when the assembly is verified | An unplanned void reduces the thread reaching wood |
| Required sound-wood engagement | Value from the exact mount or fastener instructions | This is the target to add, not a universal guess |
| Usable screw geometry | Full-diameter thread available after the pass-through stack | The tip or unthreaded shoulder may not count |
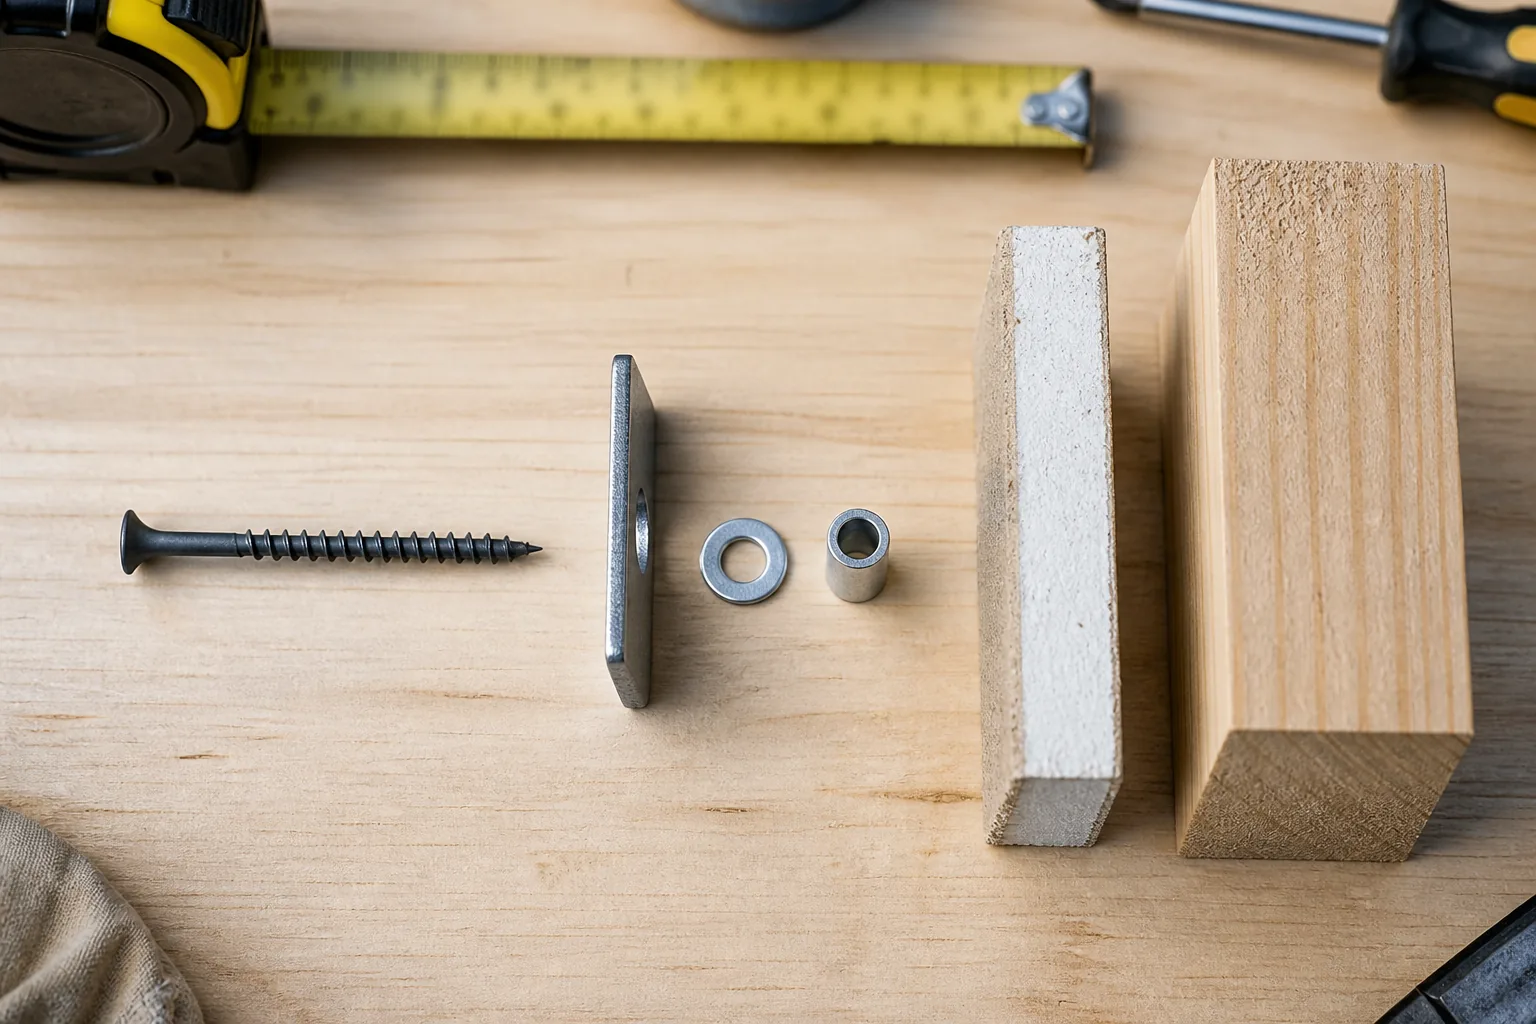
Use this arithmetic check before choosing a length
Suppose the verified pass-through layers total 15/16 inch: a 1/8-inch bracket, 1/16-inch washer, 1/4-inch spacer and 1/2-inch drywall. Add the exact wood-engagement value from the product instructions to 15/16 inch. That sum is the minimum usable length needed for the documented stack, subject to the required screw type and available lengths.
This example is arithmetic, not a fastening recommendation. For comparison, a 2-inch screw minus a 15/16-inch stack leaves about 1 1/16 inches before accounting for any non-counting tip or shoulder. Whether that is acceptable cannot be decided from the subtraction alone; only the applicable instructions or an engineered design can answer it.
- Measure the real stack
- Add the documented wood-engagement requirement
- Check the maker's length reference and usable thread
- Select only an approved fastener type and available length
- Recheck utility risk and pilot-hole instructions before drilling
Centering and pilot holes matter as much as depth
A long screw near the edge of a stud is not equivalent to a correctly centered one. Confirm both stud edges and place the hole where the mounting system instructs. A suitable pilot hole can reduce splitting and driving torque, but its diameter and depth belong to the exact screw, wood and product instructions—not to a generic online chart.
The SANUS manual in the sources illustrates why product-specific directions matter: it defines its own wall-covering limit, pilot bit and tightening stop for one mount. Those values are evidence for that mount only. They are not transferable permission for a different bracket, fastener or load.
- Confirm both stud edges
- Mark the centerline
- Use the required pilot diameter and depth
- Keep the drill square
- Drive at controlled speed and stop at the instructed seating point
Do not substitute a look-alike screw
A drywall screw, deck screw, structural screw and lag screw can have different heads, shanks, thread geometry, materials and published uses even when their lengths look similar. Use the type, diameter, length, washer and corrosion protection named by the object or mounting-system manufacturer. Do not use a hardware-store resemblance as an engineering equivalence.
Simpson Strong-Tie publishes product-specific load tables and installation guidance for its fastening systems. That is the useful pattern to follow: capacity belongs to a documented fastener, substrate, geometry and installation—not to the word ‘screw’ or to length alone.
- Match fastener type and diameter
- Check whether length is measured from under the head or another reference point
- Confirm how much usable thread reaches sound wood
- Use every required washer or plate
- Do not mix a published value from one brand or model into another system
Treat metal resistance as a stop signal
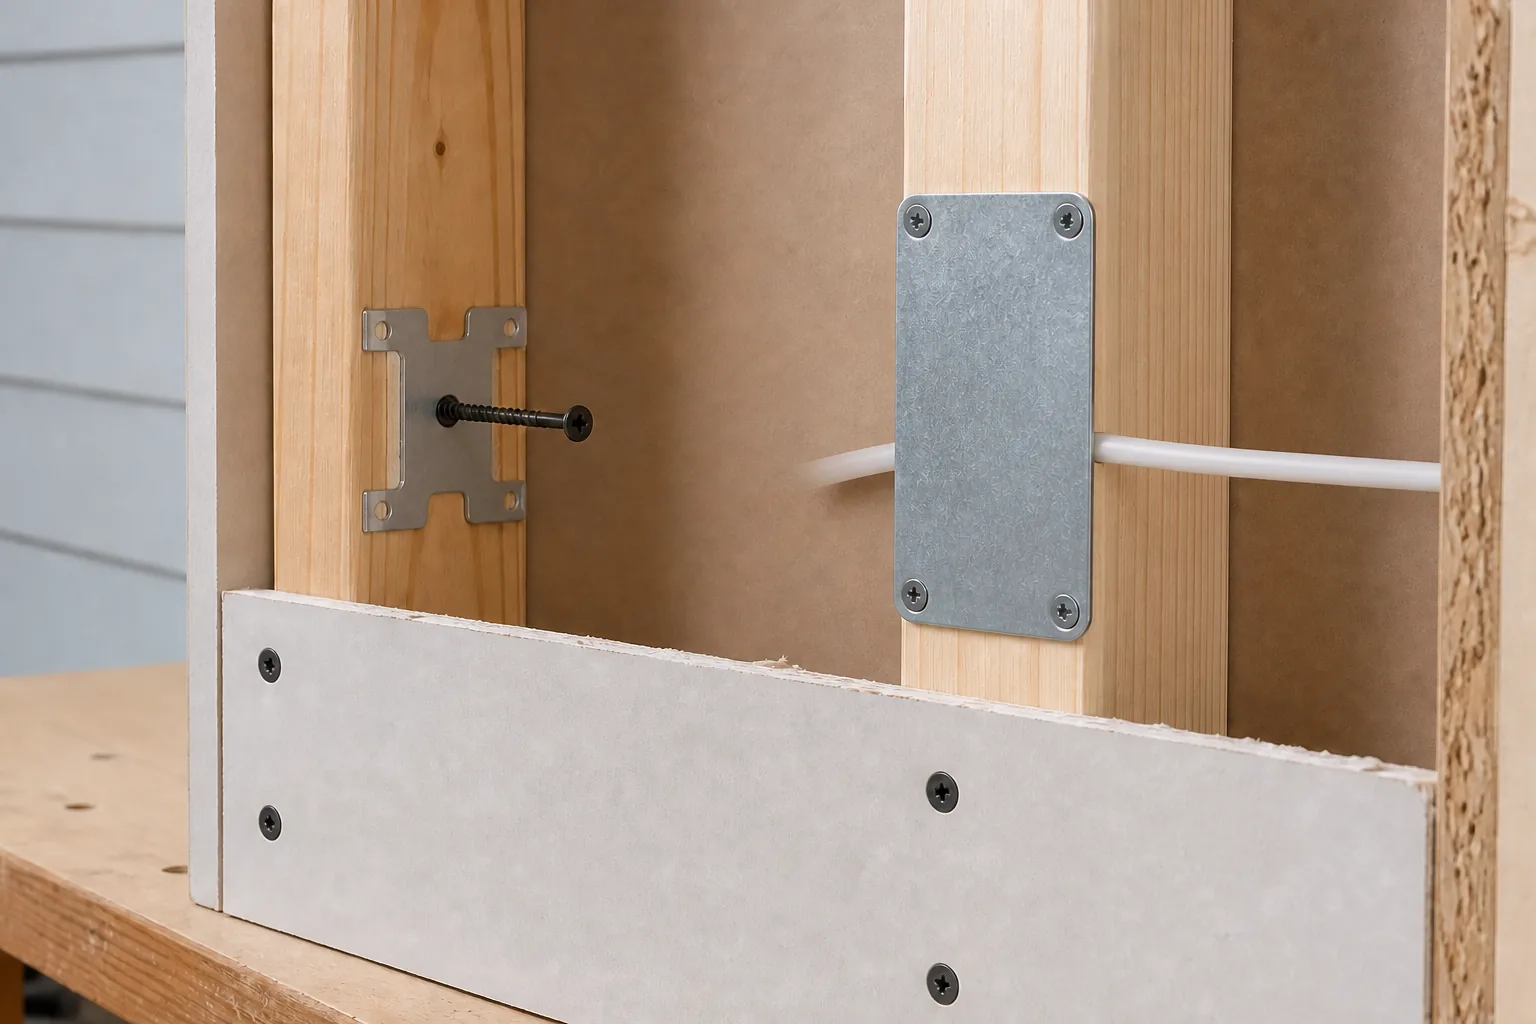
Wiring and plumbing can pass through bored framing, and a steel protecting shield plate may cover a vulnerable path. If a pilot bit or screw meets unexpected metal, stop immediately. Do not switch to a metal bit, defeat the plate or drive beside it until the obstruction and utility route are positively identified.
Review outlets, switches, plumbing fixtures and the opposite side of the wall before choosing the location. OSHA’s electrical-safety guidance requires concealed energized-circuit hazards to be identified before work that could contact them; for a homeowner, the practical lesson is to de-energize relevant circuits when appropriate, avoid uncertain paths and use qualified help when the wall cannot be verified. A detector reduces uncertainty but cannot certify that a wall is clear.
Frequently asked questions
How far should a lag screw go into a stud?
Use the minimum sound-wood engagement, pilot-hole dimensions and exact lag screw stated by the mount or fastener manufacturer. There is no safe universal depth that applies to every lag screw, bracket and load.
Does the drywall thickness count as stud penetration?
No. Drywall, tile, washers, brackets, spacers and gaps are part of the pass-through stack. Only the portion engaged in sound structural wood is wood embedment.
Does the tapered screw tip count as full embedment?
Do not assume it does. When a maker distinguishes full-diameter thread or effective embedment, use that definition and exclude any tip or unthreaded shoulder it does not count.
Is a longer screw automatically stronger?
No. Length beyond the documented engagement may add no useful capacity and can increase the chance of contacting concealed utilities or splitting wood.
What does sudden metal resistance mean?
Stop. It may be a protecting shield plate, metal framing or another concealed component that must be identified before proceeding.
A practical next step
Before buying hardware, confirm the wall assembly and read the installation instructions for both the object and the exact fastener. If you need a starting category, use our Anchor Selector.
Sources and further reading
These primary and manufacturer resources support the safety and installation principles summarized above. Always use the current instructions for your exact product.
- Sheetrock Installation and Finishing Guide — USG
- Fastening Systems Technical Guide 2025 — Simpson Strong-Tie
- VMAA18 Wood Stud Mounting Instructions — SANUS
- PSPN Protecting Shield Plate Installation Guide — Simpson Strong-Tie
- General Electrical Safety Requirements — Occupational Safety and Health Administration