
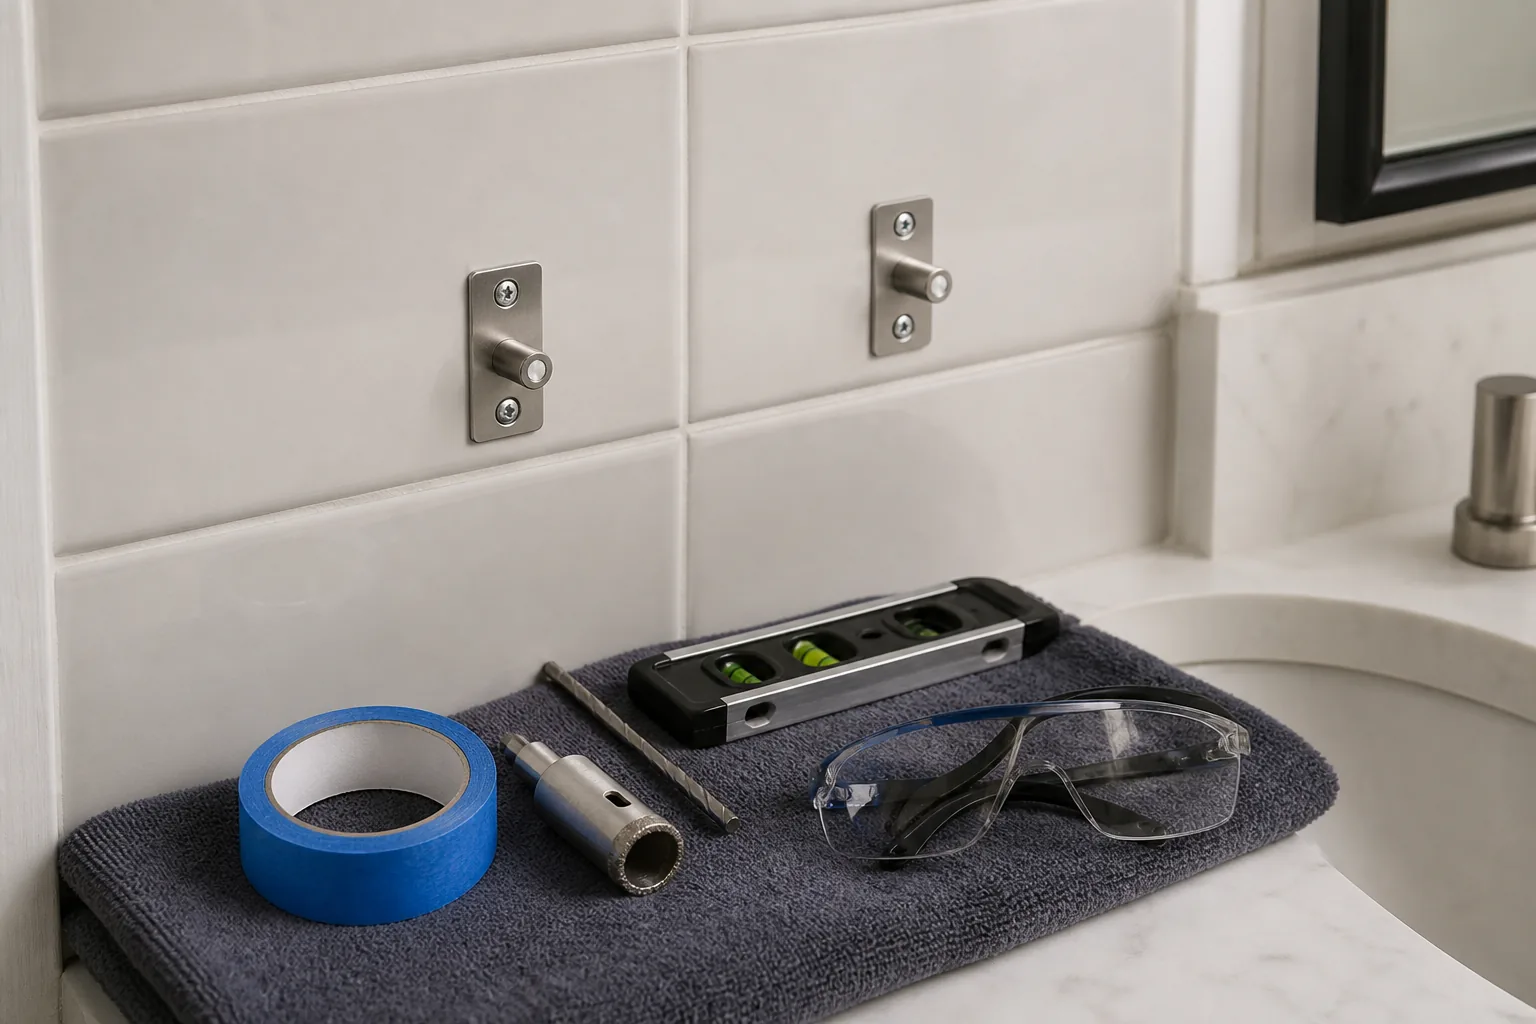
Identify the complete tiled assembly
Determine whether the tile is over cement board, foam backer, mortar bed, drywall or masonry. Review renovation records, an exposed plumbing opening or manufacturer documentation where available. Tile appearance and tap sound cannot identify every hidden layer.
Locate wet zones and waterproofing. Every penetration can become a water path if it is not detailed according to the system. Cracked, loose or hollow-sounding tile needs evaluation before drilling.
- Tile material and thickness
- Backer type
- Waterproofing system
- Framing or masonry location
- Wet-zone exposure
Choose a bit that explicitly lists your tile
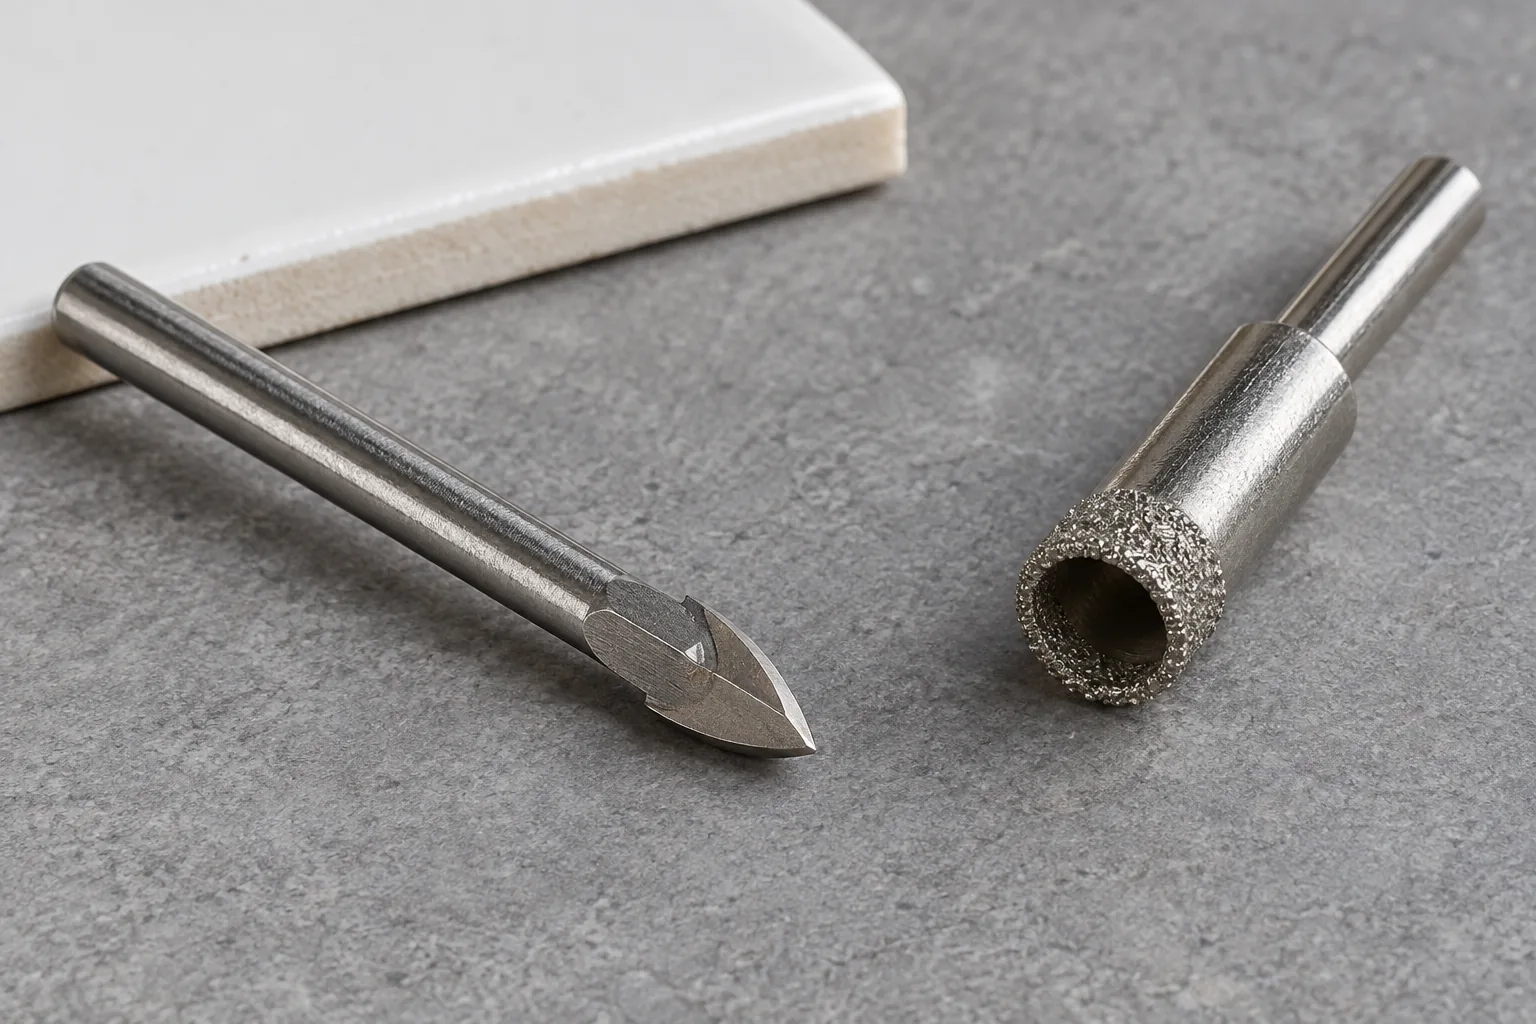
Check the tile box, invoice or supplier's identification before buying a bit. A porcelain-rated bit and a general glass-and-tile bit are not interchangeable just because both fit the drill. The examples below compare published product instructions, not tested performance or a best-products ranking. Select the required hole diameter separately.
A pointed carbide tip and a hollow diamond rim are useful visual descriptions, not compatibility labels. Match the actual model, permitted material, tool connection, speed and cooling instructions. If the tile cannot be identified, ask the supplier or installer instead of experimenting on the finished wall.
| Identified example | Published size / material | Cooling or tool condition | What it does not decide |
|---|---|---|---|
| Bosch GT300 glass-and-tile bit | 1/4-inch diameter; glass and tile | Listed for rotary drills/drivers; verify the exact tile and current bit instructions | The word tile alone does not establish that an unknown porcelain tile is covered |
| Bosch DDB14 porcelain diamond bit | 1/4-inch diameter; porcelain and natural stone tile | Dry-drilling design with a wax insert; rotary drill/driver | Its cooling method is not a rule for all diamond bits |
| QEP Xtreme 10080 wetDRY diamond hole saw | 5/16-inch diameter; porcelain, ceramic and glass tile | The published directions say to dip the bit in water; use its own instructions | The wet/dry name is not a reason to ignore the stated cooling procedure |
| Unidentified tile or unmarked bit | No verified material/bit pairing | Stop and obtain the exact specifications | Appearance, color and chuck fit do not identify an approved combination |
Separate finish drilling from structural fastening
The tile bit creates clearance through a brittle finish; the structural fastener must engage an approved substrate behind it. Do not count the tile thickness as wood embedment, and do not let an expansion anchor bear on a tile edge unless the instructions explicitly describe that assembly.
Choose the hole diameter from both the fixture and fastener instructions. The clearance hole through tile may differ from a pilot hole in wood or an anchor hole in masonry. Plan the sequence before starting so a mismatched bit does not enlarge the entire opening.
- Fixture clearance hole
- Backer or framing pilot
- Fastener embedment
- Washer or gasket
- Sealant required by the system
Write down a separate size for each layer
A 1/4-inch bit makes a nominal 1/4-inch opening; it is not a universal size for a towel-bar screw. Likewise, the 5/16-inch QEP example is not a recommendation to enlarge a hole specified as 1/4 inch. Record the finish clearance, any backer passage, and the backing's pilot or anchor hole as separate requirements.
For a documented wood-backed installation, add the measured tile, adhesive, backer and hardware stack to the maker-required wood engagement when choosing screw length. Do not assume every backer is 1/2 inch or use a longer screw to compensate for unknown layers. If the bracket, fastener and waterproofing instructions cannot be reconciled, stop and obtain an approved detail.
- Tile clearance diameter: from the hardware/anchor instructions
- Backing pilot or anchor hole: from that exact fastening system
- Maximum planned drilling depth: from the verified assembly
- Usable fastener length: full pass-through stack plus specified engagement
Choose a low-risk hole location
Avoid tile edges and corners unless the instructions specify a distance. Mark with removable tape if suitable for the finish and prevent the bit from skating. Confirm plumbing and electrical risk on both sides of the wall, especially around valves, shower controls, niches and outlets.
A grout joint may be easier to repair but is not universally the correct structural location. The fastener must still reach approved backing, and penetrated waterproofing must still be treated correctly.
- Check edge distance
- Verify bracket alignment
- Locate pipes, valves and wiring
- Confirm backing before drilling
- Plan water sealing
Drill without shocking the tile
Keep hammer action off while making the hole through tile. Use the exact bit's start method: a pointed bit and a hollow diamond bit may have different guidance for starting without wandering. QEP's linked product sheet, for example, illustrates starting a groove at an angle and then bringing the bit upright. Do not turn that example into a universal technique for a different bit or drill guide.
Use the speed, pressure and cooling method specified for the actual bit and tool. There is no one RPM or water rule for every tile bit. Stop when the finish is penetrated; change to a backing-compatible bit and mode only when the verified backing and its instructions require it. Avoid plunging into a cavity or carrying the tile bit into framing just because it has reached the other side.
Contain drilling debris and use the dust-control and protective equipment specified for the material and tools. NIOSH notes that drilling silica-containing materials can create harmful respirable dust. Keep dust and any cooling water away from occupants and electrical equipment; do not assume a household vacuum is suitable for hazardous dust.
- Wear eye protection
- Follow the model-specific start method
- Keep hammer action off through tile
- Respect the planned depth
- Pause before entering the next layer
Stop for cracks, stalling or a loose tile
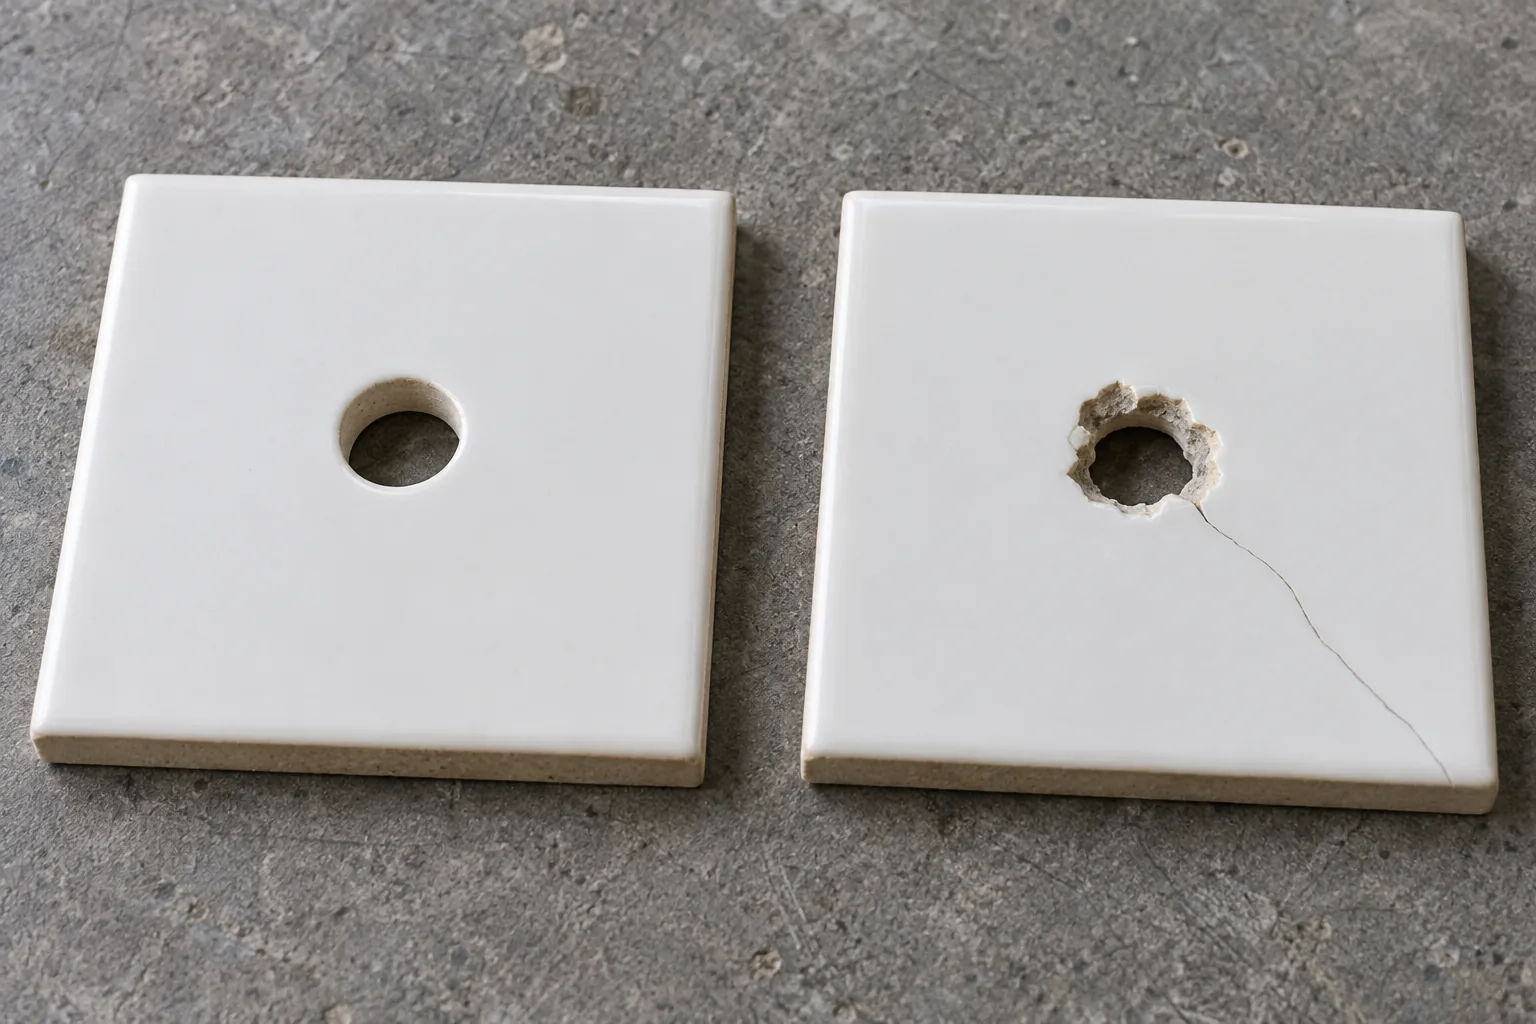
A bit that stops making progress is a reason to check material compatibility, wear, debris removal and the specified cooling method—not to add hammer action or force. Stop for visible cracking, a chipped or enlarged mounting hole, movement in the tile, or unexpected resistance behind it.
Do not hide a damaged rim under a mounting plate and assume the problem is solved. A clean-looking face can still conceal a damaged backer or membrane. If the tile has cracked or moved, have the affected assembly and fastening plan assessed before continuing; cosmetic filler does not establish a sound mounting point.
- Crack spreading from the hole: stop
- Loose tile or failed bond: evaluate the assembly
- Wrong-sized or oval hole: do not force the chosen anchor to fit
- Unknown metal, void or moisture: reassess before proceeding
Plan the waterproofing repair before making a hole
In a shower, the waterproofing may be behind the tile rather than on its glazed face. Sealing only around a decorative mounting plate does not show that the membrane penetration has been treated. Identify the installed waterproofing system and obtain its accessory-penetration detail before drilling.
Schluter's Shower System Installation Handbook treats penetrations through KERDI or KERDI-BOARD as details requiring the appropriate seal or compatible sealant. It also calls for heavy objects over KERDI-BOARD, including grab bars, to be anchored in the structure or solid blocking. These are system-specific directions, not approval for any sealant or anchor in an unknown shower wall. Sealing and structural support solve different problems; neither substitutes for the other.
Seal, tighten and maintain
Apply the specified sealant or gasket to protect the penetration, while keeping sealant out of areas where it would interfere with anchor action. Tighten the fixture evenly so it seats without point-loading or cracking the tile.
Allow sealants to cure before exposure. Periodically inspect for movement, cracked grout, staining or failed sealant. Unload and repair any moving fixture promptly; water entering behind tile can create damage that remains hidden until it is extensive.
Frequently asked questions
What drill bit should I use for porcelain bathroom tile?
Use a specific bit that names porcelain as a permitted material and matches the required hole diameter and tool. The Bosch DDB and QEP examples above both list porcelain, but their published cooling directions differ. Do not select by tip shape alone.
Can I use hammer mode on tile?
Keep hammer action off through the tile. The Bosch examples here are listed for rotary drilling. A later change of bit or mode belongs to the verified backing's instructions, not to the fact that the drill has a hammer setting.
Do all diamond tile drill bits need water?
No single rule covers them all. Bosch's DDB design uses a wax insert for dry drilling, while QEP's 10080 directions describe dipping in water. Follow the exact model's instructions, including tool compatibility and dust control.
Is grout safer to drill than tile?
Not automatically. Structural backing, edge distance and waterproofing matter more than ease of repair.
Can drywall anchors support a grab bar?
Do not use ordinary anchors. Grab bars require an approved installation and suitable structural support according to the exact product.
Does a neat hole prove the mount is safe?
No. It does not verify the backing, fastener engagement or waterproofing. Check those separately before mounting hardware.
A practical next step
Before buying hardware, confirm the wall assembly and read the installation instructions for both the object and the exact fastener. If you need a starting category, use our Anchor Selector.
Sources and further reading
These primary and manufacturer resources support the safety and installation principles summarized above. Always use the current instructions for your exact product.
- Glass & Tile Bits: GT Series — Bosch Professional USA
- Porcelain Diamond Drill Bits: DDB Series — Bosch Professional USA
- Xtreme 5/16-inch Pro Wet/Dry Diamond Hole Saw: 10080 — QEP
- Shower System Installation Handbook: Penetrations and Backing — Schluter-Systems
- Silica and Worker Health — National Institute for Occupational Safety and Health