
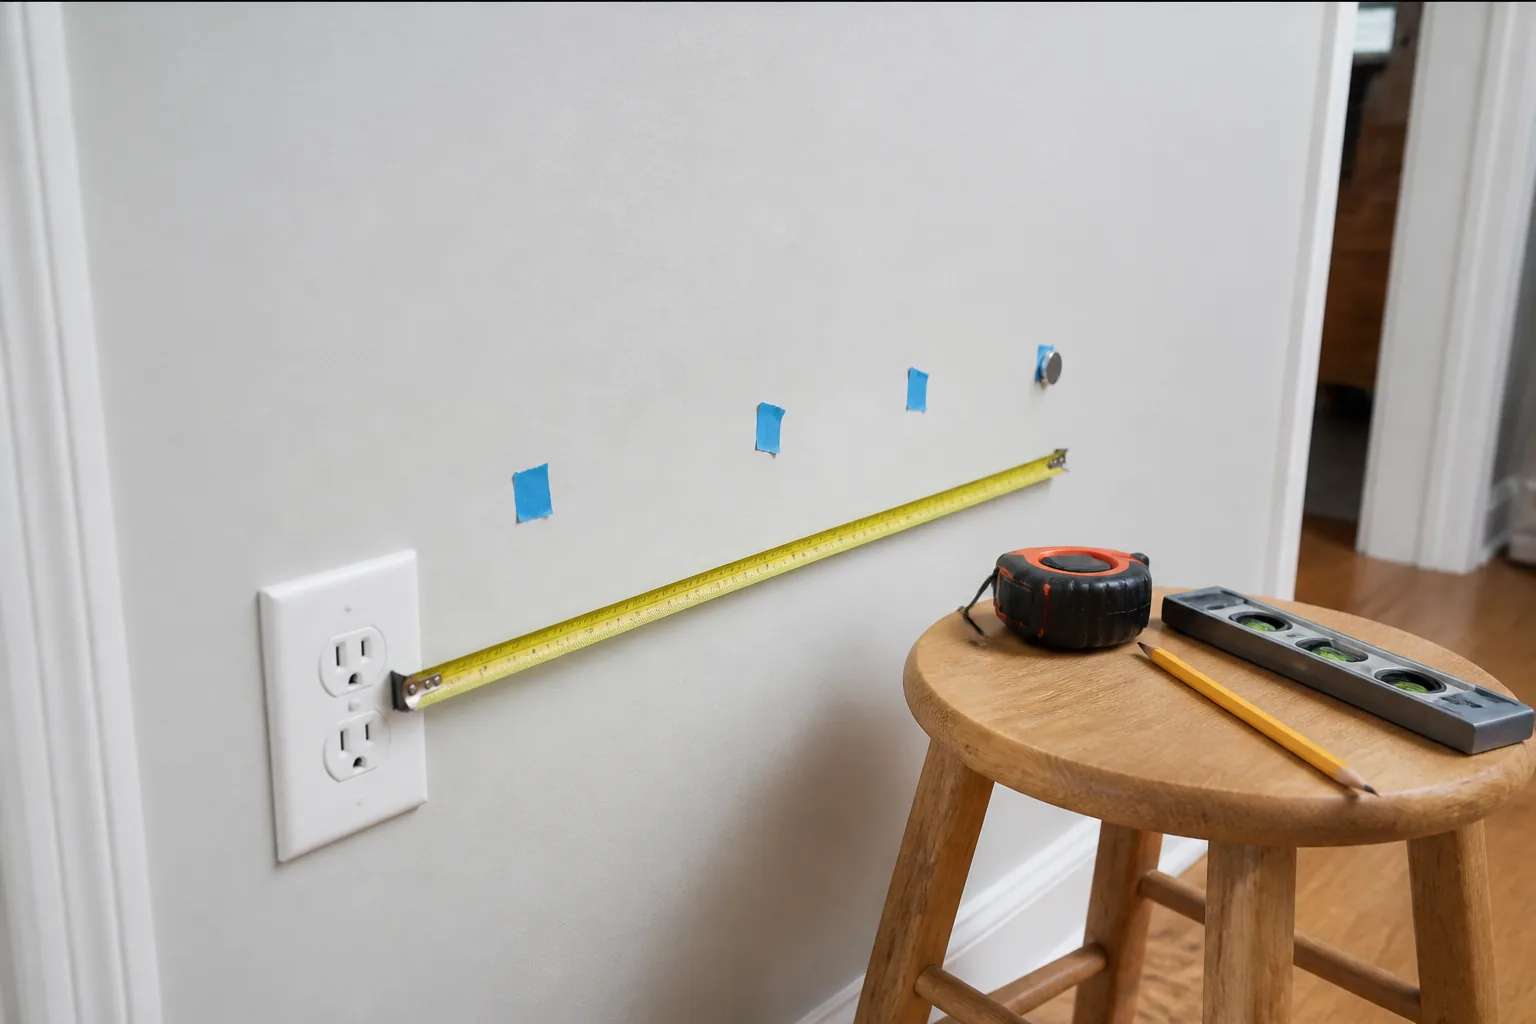
Begin with visible construction clues
Look at baseboards, crown molding, outlet boxes and unfinished areas. Fastener patterns in trim or slight dimples in raking light may suggest framing lines. Door and window openings require framing, but exact layouts vary and should not be guessed from a generic diagram.
Use building age and wall type only as context. Remodels, furring, resilient channels, double walls and repairs can change the pattern. Mark clues lightly and look for a repeated vertical relationship rather than one isolated point.
- Trim fastener pattern
- Existing shelf or cabinet screws
- Outlet and switch locations
- Exposed framing in adjacent space
- Repeated vertical seams or dimples
Use a magnet to find fasteners
A strong magnet can locate steel drywall screws or nails near the surface. Move slowly in a grid and mark several hits vertically. A line of repeatable points is more persuasive than one hit, which could be a corner bead, pipe strap or unrelated metal.
The magnet finds metal, not wood. Plaster lath, metal studs, foil and old fasteners can produce many signals. Use the pattern as evidence and compare it with other clues.
- Scan slowly
- Repeat from both directions
- Mark several aligned hits
- Keep away from known corner bead
- Do not drill solely on one magnetic hit
Measure patterns carefully
Once a probable stud is found, nearby framing may follow a regular on-center layout, but spacing varies. Measure to generate candidates, not certainties. Corners can contain multiple studs, drywall clips or backing, and the center of a corner is not a useful reference.
Check both edges of a suspected stud where the wall system permits. A wide or irregular signal may indicate blocking, plumbing, ducts or doubled framing. For a mount needing multiple studs, confirm each location independently.
- Treat common spacing as a hypothesis
- Find edges, then estimate center
- Confirm each stud separately
- Expect different layouts around openings
Use existing openings safely
An unfinished attic, basement or utility space can reveal framing direction. An existing electrical cover may show an edge of the wall material, but turn off power and never insert tools into a box or reach into the wall. Do not remove devices or disturb wiring unless qualified.
Small exploratory holes create dust and concealed-hazard risk and should not be the default. If confirmation requires penetrating the wall, select a screened location and a method appropriate to the wall and possible hazardous materials.
- Prefer already exposed edges
- De-energize before viewing safe cover-plate edges
- Do not probe electrical boxes
- Avoid unnecessary test holes
Confirm the drilling path separately
After locating a probable stud center, check the surrounding room for sinks, showers, radiators, outlets and panels. Use suitable detection and limit the planned depth. A metal plate or unexpected resistance means stop.
For high-consequence mounts, uncertain walls or signals that disagree, use a qualified installer with appropriate inspection tools. Confidence in a stud location is not the same as a complete wall assessment.
Frequently asked questions
Does an outlet always attach to a stud?
No. Some boxes attach to framing while old-work boxes clamp to the wall surface. An outlet is a clue, not proof.
Can I find a stud by knocking?
Sound can help compare areas but is too subjective to use alone, especially with insulation, plaster or multiple layers.
What does a very wide stud-finder signal mean?
It may indicate doubled framing, blocking, metal, a pipe, a duct or interference. Investigate with another method.
A practical next step
Before buying hardware, confirm the wall assembly and read the installation instructions for both the object and the exact fastener. If you need a starting category, use our Anchor Selector.
Sources and further reading
These primary and manufacturer resources support the safety and installation principles summarized above. Always use the current instructions for your exact product.
- Sheetrock Installation and Finishing Guide — USG
- General Electrical Safety Requirements — Occupational Safety and Health Administration