
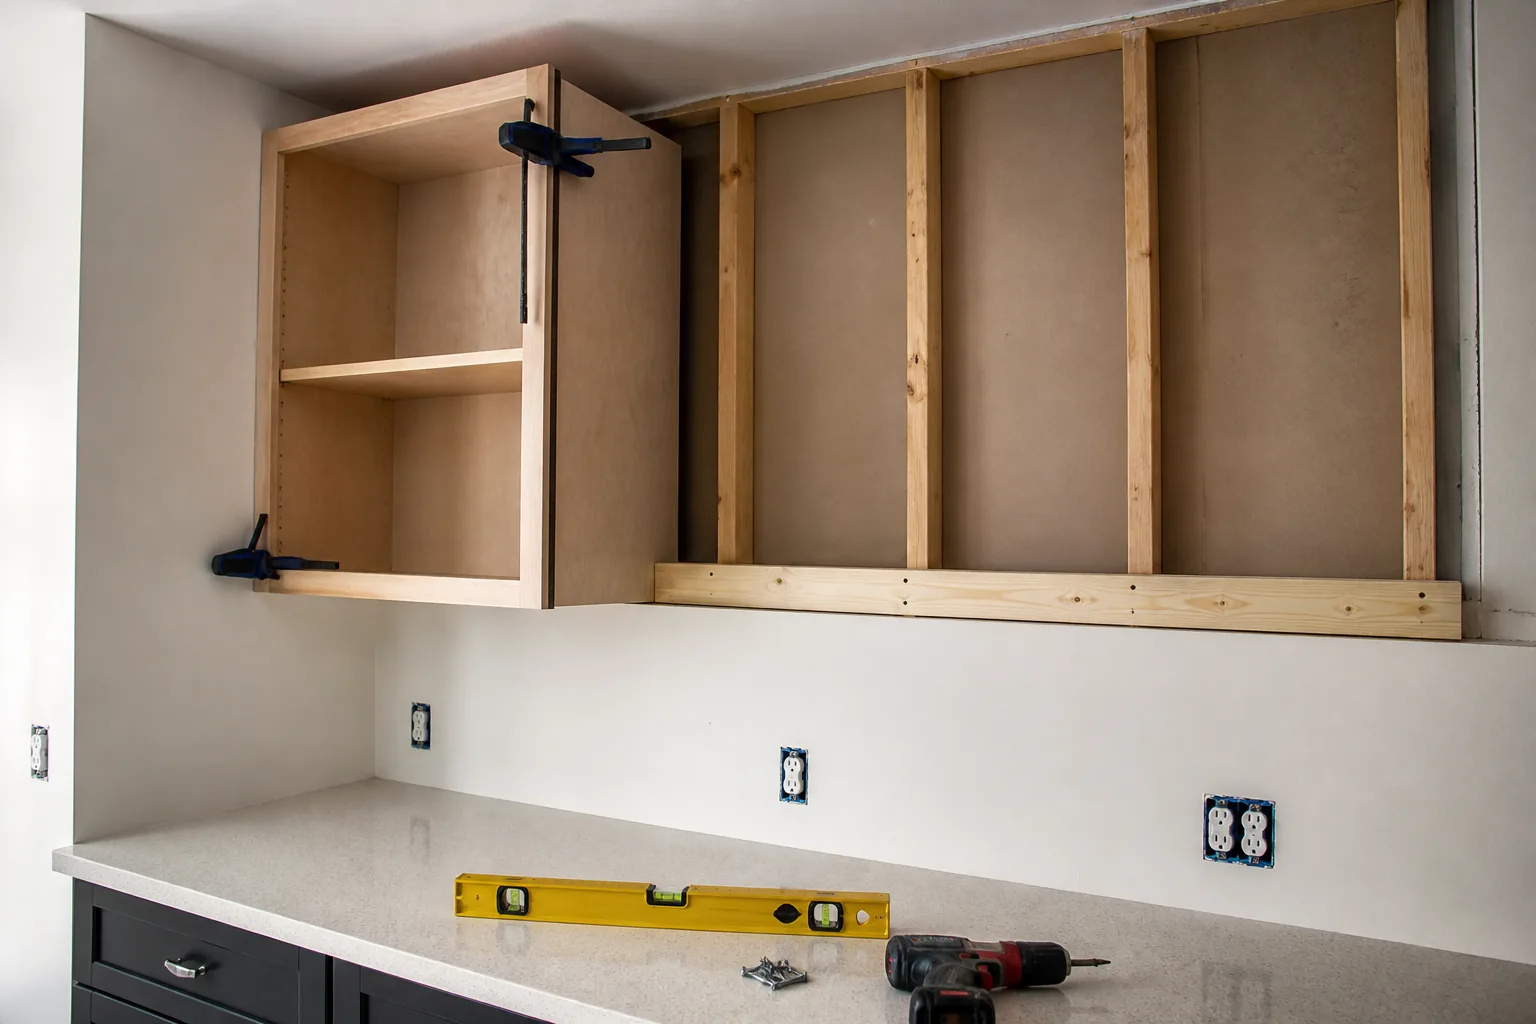
Read the cabinet system instructions
Determine whether the cabinet hangs from a proprietary rail, screws through a reinforced back rail, brackets or another system. Identify the required number, type and location of wall fasteners. Do not drive screws through an arbitrary thin back panel.
Record cabinet dimensions, empty weight and intended contents. Dishes, pantry goods and appliances can add substantial changing load. Adjacent cabinets may connect to one another, but cabinet-to-cabinet screws do not replace required wall connections.
- Cabinet model and mounting system
- Reinforced attachment locations
- Required wall fasteners
- Planned contents
- Sequence for joining cabinets
Map the wall and utilities
Locate and confirm studs or approved structural backing across the full cabinet run. Mark electrical, plumbing, gas, ventilation and appliance zones. Kitchens and bathrooms have dense concealed services, and wall irregularities can affect how a long rail seats.
Check wall flatness and floor or countertop level. A cabinet run can be level even when the ceiling is not. Plan fillers, clearances and finished side panels before the first attachment.
- Stud centers and edges
- Blocking or rail support
- Electrical and plumbing paths
- High and low wall points
- Door and appliance clearances
Prepare safe temporary support
Wall cabinets must be held accurately while their structural connections are made. Use manufacturer-approved ledgers, cabinet jacks or enough trained helpers for the size and weight. A temporary ledger itself must be attached safely and kept clear of utilities.
Remove doors and shelves if the instructions permit to reduce weight and protect finishes. Establish a controlled work zone and do not stand beneath an incompletely attached cabinet.
- Stable lifting plan
- Temporary ledger or support
- Clear floor and drop zone
- Removed doors labeled for reinstallation
- Clamps and protective pads
Make structural connections in sequence
Place the cabinet or rail, verify level and plumb, then install approved fasteners into verified framing or backing. Use shims at structural locations so tightening does not distort the cabinet box. Calculate screw embedment after the rail, shim and wall finish.
Bring fasteners up in stages and recheck alignment. Join adjacent cabinets through their reinforced frame locations as directed. Do not use drywall anchors as a substitute for required framing connections.
- Fasten at every required stud
- Shim without bowing the cabinet
- Use correct washers and screw heads
- Confirm embedment
- Recheck level after tightening
Verify before loading
Install doors, shelves and safety hardware, then check operation and alignment. Confirm that fastener heads are seated, rails are locked and the cabinet does not move under a controlled hand check. Do not perform a pull-down body-weight test.
Load contents gradually and distribute them as intended. Reinspect after the cabinet has been used. Cracking, separation from the wall, binding doors or new movement requires immediate unloading and professional evaluation.
Frequently asked questions
Can wall cabinets be mounted with drywall anchors?
Do not substitute them for structural framing or backing unless the cabinet manufacturer provides an engineered method that explicitly permits the complete wall assembly.
Why are cabinets screwed together?
Connections align and share the cabinet run, but they do not eliminate each cabinet’s required wall attachment.
Can a long cabinet screw be driven anywhere a stud finder beeps?
No. Verify framing, utilities, pilot requirements and actual embedment before drilling.
A practical next step
Before buying hardware, confirm the wall assembly and read the installation instructions for both the object and the exact fastener. If you need a starting category, use our Anchor Selector.
Sources and further reading
These primary and manufacturer resources support the safety and installation principles summarized above. Always use the current instructions for your exact product.
- Sheetrock Installation and Finishing Guide — USG
- General Electrical Safety Requirements — Occupational Safety and Health Administration