
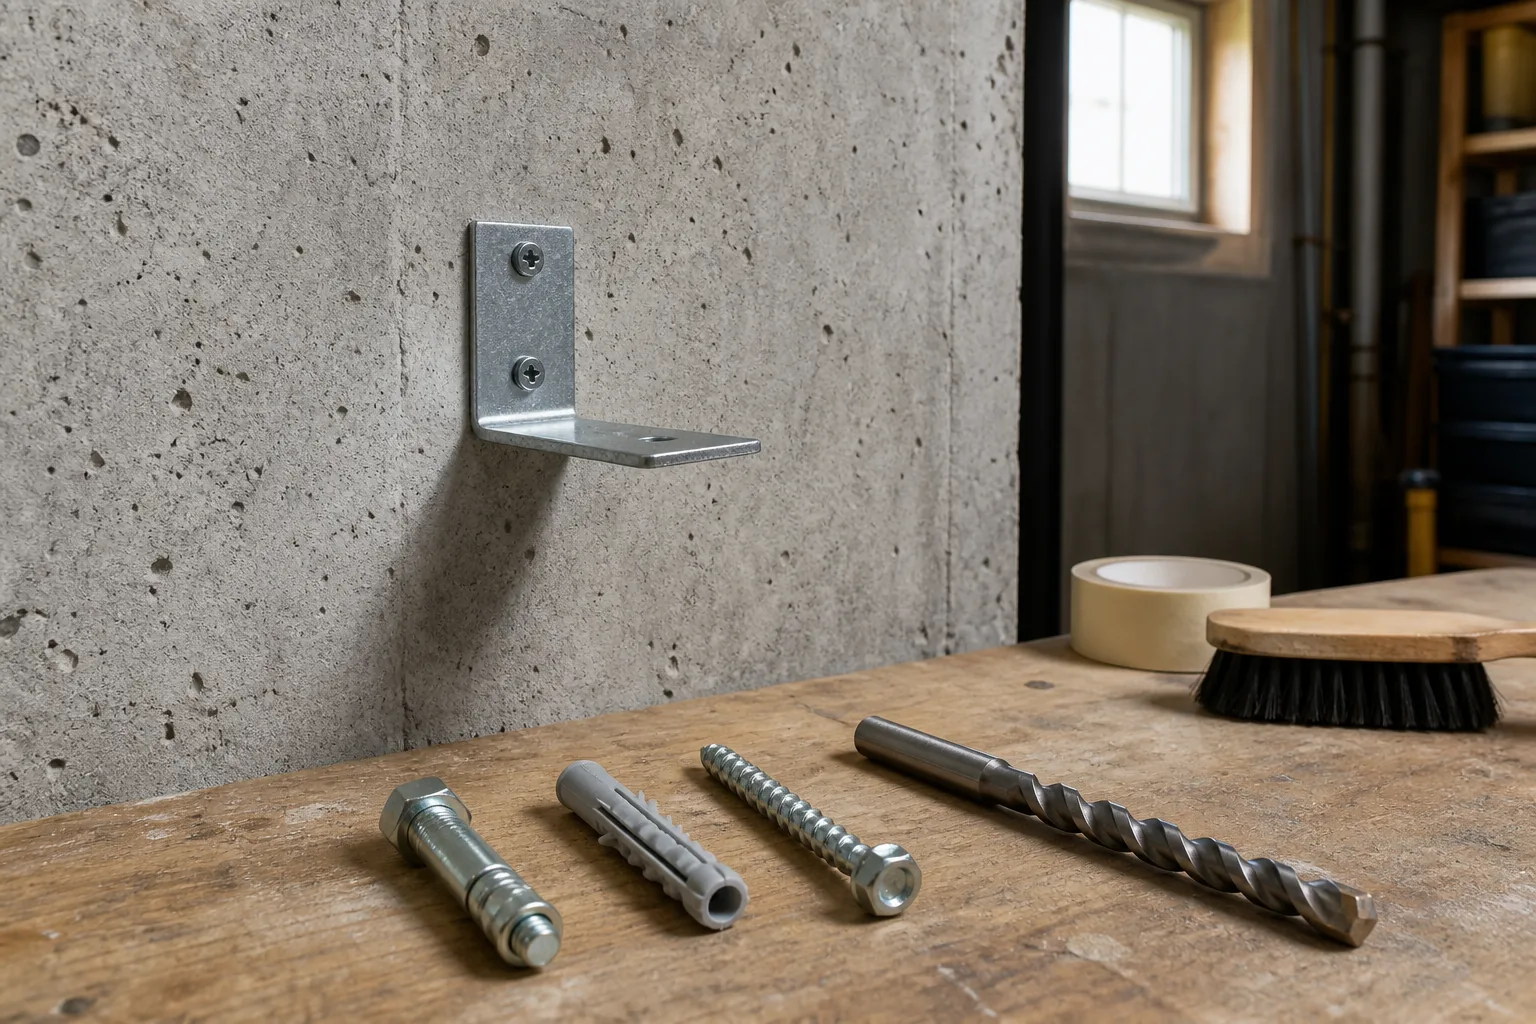
Confirm that the base is concrete
A hard gray surface may be poured concrete, concrete block, stucco, parging, tile backer or a thin finish over another wall. Inspect an exposed edge or reliable construction record before choosing an anchor. Hollow block and solid concrete require different mechanisms.
Assess cracking, spalling, moisture and proximity to edges. Do not anchor into loose surface material or assume a thicker finish contributes useful embedment. Unknown or deteriorated concrete should be evaluated before carrying a consequential load.
- Solid concrete versus block
- Finish thickness
- Cracked or uncracked condition
- Edge and corner proximity
- Indoor, wet or exterior exposure
Compare anchor mechanisms
Common families include concrete screws, expansion anchors, sleeve anchors, drop-in anchors and adhesive systems. Each has a required hole, embedment range, fixture thickness and installation process. Some are removable; others leave a permanent expansion element.
Select from manufacturer data for the actual base and load direction. Do not compare headline capacities without checking concrete strength assumptions, spacing reductions, edge distances and whether the value is allowable or ultimate.
- Approved concrete condition
- Tension, shear and combined loading
- Fixture thickness
- Required embedment
- Corrosion resistance
- Removal needs
Lay out holes with spacing in mind
Anchors too close to an edge or one another can interact with the same stressed concrete. Use the product’s minimum edge distance and spacing, and check whether the fixture-hole pattern can satisfy them. Moving a hole slightly may still conflict with reinforcement or the object’s installation rules.
Scan and review available information for rebar, post-tensioning, utilities and embedded systems. Never drill a post-tensioned slab or structural member casually. If the drilling zone cannot be verified, obtain qualified help.
- Mark fixture outline
- Check edge distance
- Check anchor-to-anchor spacing
- Identify embedment path
- Screen for reinforcement and utilities
Drill and clean as a controlled process
Use the specified bit diameter, tool mode and depth. Hold the drill square and use a depth stop where appropriate. Worn bits and side pressure change hole geometry. Stop if you encounter unexpected steel, a void or a change in the base.
Clean the hole exactly as directed. Expansion and screw anchors need dust-free contact, while adhesive systems can have particularly detailed brushing and blowing requirements. Use appropriate dust collection and personal protection; do not use compressed air casually in an occupied space.
- Correct bit and tool
- Perpendicular hole
- Required depth
- Named cleaning sequence
- Visual inspection before insertion
Set, torque and document
Install the anchor with its required setting tool, washer and nut. For torque-controlled products, use a suitable torque wrench and the value for that exact diameter and condition. Overtightening can damage threads, the fixture or the concrete.
Keep the installation instructions with the project record and note the anchor model, diameter and date. Inspect exterior or vibrating installations periodically for corrosion and movement. A loose anchor should be unloaded and investigated, not simply retorqued without understanding why it moved.
Frequently asked questions
Can I use a plastic drywall anchor in concrete?
Only if that exact product explicitly lists concrete and gives a compatible installation. Many drywall anchors are not masonry anchors.
Why must a concrete hole be cleaned?
Dust can prevent full seating, thread contact, expansion or adhesive bond. Follow the anchor maker’s exact sequence.
Can I drill through rebar?
Do not assume it is permitted. Reinforcement may be structurally important, and post-tensioned systems are especially hazardous.
A practical next step
Before buying hardware, confirm the wall assembly and read the installation instructions for both the object and the exact fastener. If you need a starting category, use our Anchor Selector.
Sources and further reading
These primary and manufacturer resources support the safety and installation principles summarized above. Always use the current instructions for your exact product.
- CYL-1 Masonry Drill Bit Guidance — Bosch Professional