
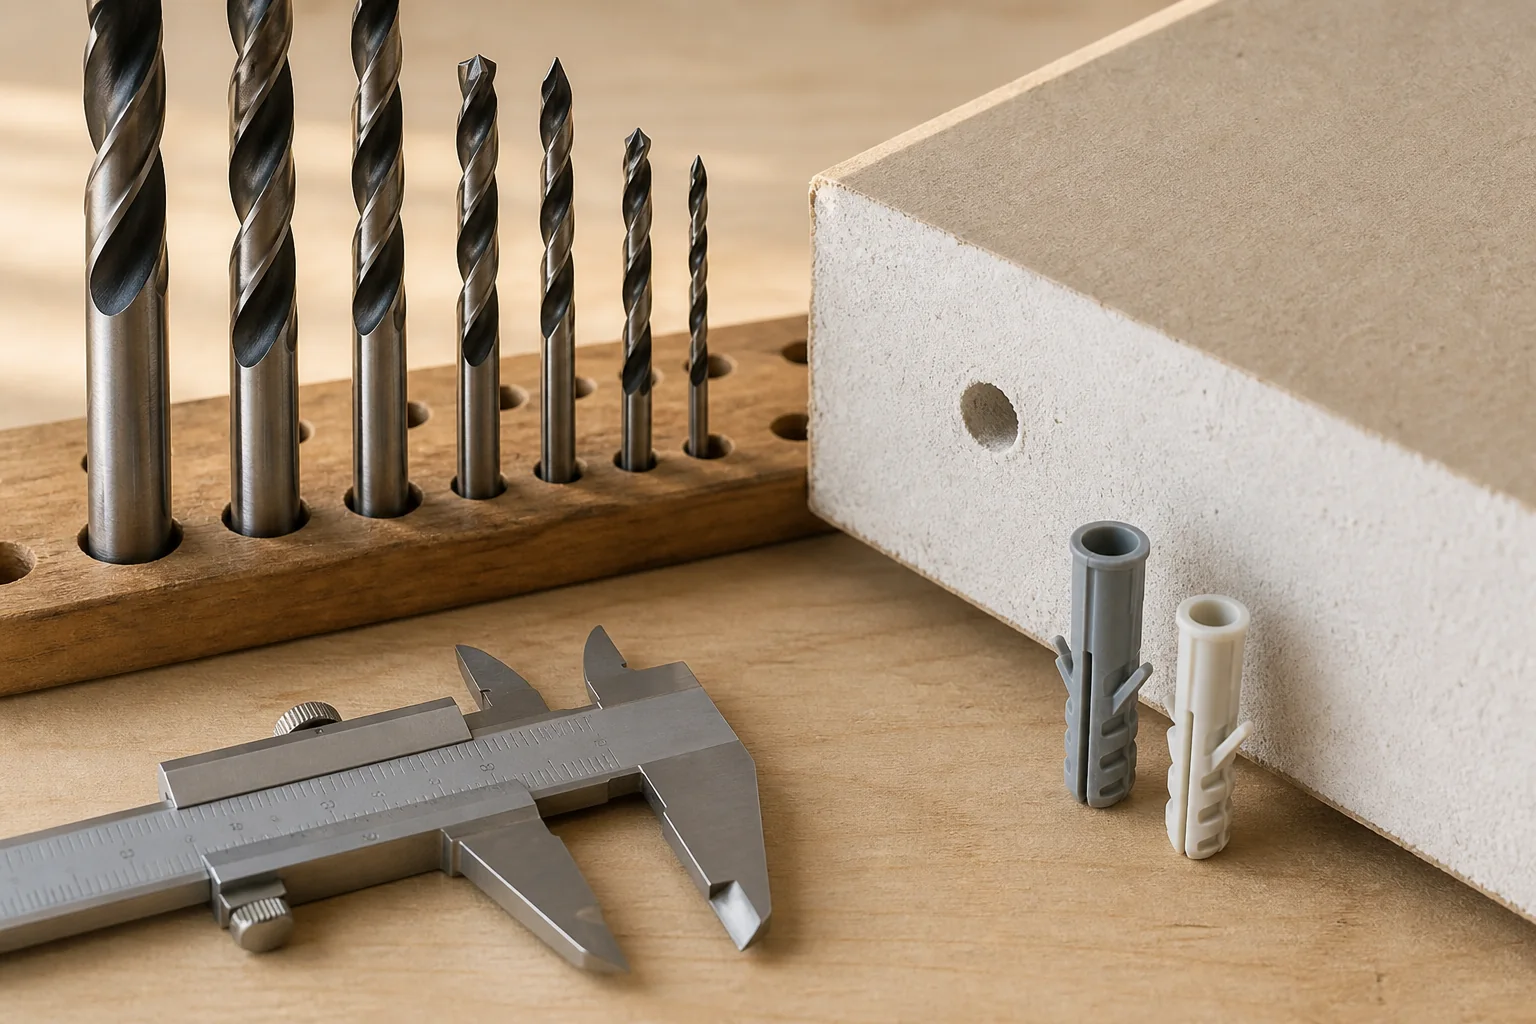
Use the specified hole diameter
Check the anchor package, installation sheet or maker's product page for a required drill diameter. Match fractional-inch and metric sizes carefully; near-equivalents are not always equivalent enough for an anchor that depends on friction.
- Confirm the anchor model and size
- Read the required hole diameter
- Select a bit intended for the surface
- Make a straight, clean hole without wallowing it wider
Match the bit to the base material
Standard twist bits are commonly used for wood and metal when appropriate. Carbide-tipped masonry bits are designed for concrete or brick. Tile and glass require bits and techniques intended for brittle surfaces. Follow both the bit and fastener instructions, including any guidance about hammer mode.
Test the fit before mounting
Clean dust as directed and insert the anchor without forcing or spinning it. An anchor that drops into a ragged hole or crushes the face paper is not a trustworthy installation. Stop and reassess rather than compensating with excess torque.
Read three different dimensions correctly
The screw diameter, anchor body diameter and required drilled-hole diameter are related but are not interchangeable. Packaging may list a nominal anchor size while the installation table specifies a different bit. Find the row for the exact model, base material and anchor length before selecting a tool.
Metric and fractional-inch values that look close can produce materially different holes. Use the named size rather than rounding, and verify worn or unmarked bits with a bit gauge. For masonry, confirm whether the published diameter assumes a rotary, impact or hammer-drilled hole.
- Exact anchor model
- Required hole diameter
- Required hole depth
- Bit type and drilling mode
- Cleaning method
Control diameter while drilling
Mark the desired depth on the bit or use the drill’s depth stop when the instructions permit. Start square to the surface and avoid orbiting the drill, because side movement makes an oval opening. In soft drywall, let the cutting edge work without pushing hard enough to tear the face paper.
Masonry dust remaining in the hole can prevent full embedment or change how an anchor expands. Use the cleaning sequence stated by the anchor maker, which may specify brushing, blowing or vacuuming. Never blow silica-containing dust toward your face or an occupied room.
- Check the work area for concealed hazards
- Hold the drill perpendicular
- Limit depth to the instructed value
- Clean without enlarging the hole
- Test fit only as directed
Recognize a hole that should not be used
Stop when the hole is visibly oval, the face material has broken away, the bit wandered into a previous hole or the anchor slides in without the intended resistance. Unexpected voids, metal, moisture or changing dust color can indicate a different assembly or hidden obstruction.
Do not compensate for an oversized opening with glue, tape or a larger random screw. Move to sound material or select a specifically approved repair and anchor system after identifying what caused the mismatch.
Frequently asked questions
Can I use the screw diameter as the drill-bit size?
Not unless the exact anchor instructions say so. The required pilot hole belongs to the anchor system, not to a generic screw.
Should the hole be deeper than the anchor?
Follow the manufacturer’s depth requirement, which may allow space for dust and the screw tip but should not be guessed.
What if I do not have the exact bit?
Obtain the specified size. A near-equivalent can undermine a friction- or expansion-dependent installation.
A practical next step
Before buying hardware, confirm the wall assembly and read the installation instructions for both the object and the exact fastener. If you need a starting category, use our Anchor Selector.
Sources and further reading
These primary and manufacturer resources support the safety and installation principles summarized above. Always use the current instructions for your exact product.
- CYL-1 Masonry Drill Bit Guidance — Bosch Professional
- General Electrical Safety Requirements — Occupational Safety and Health Administration