
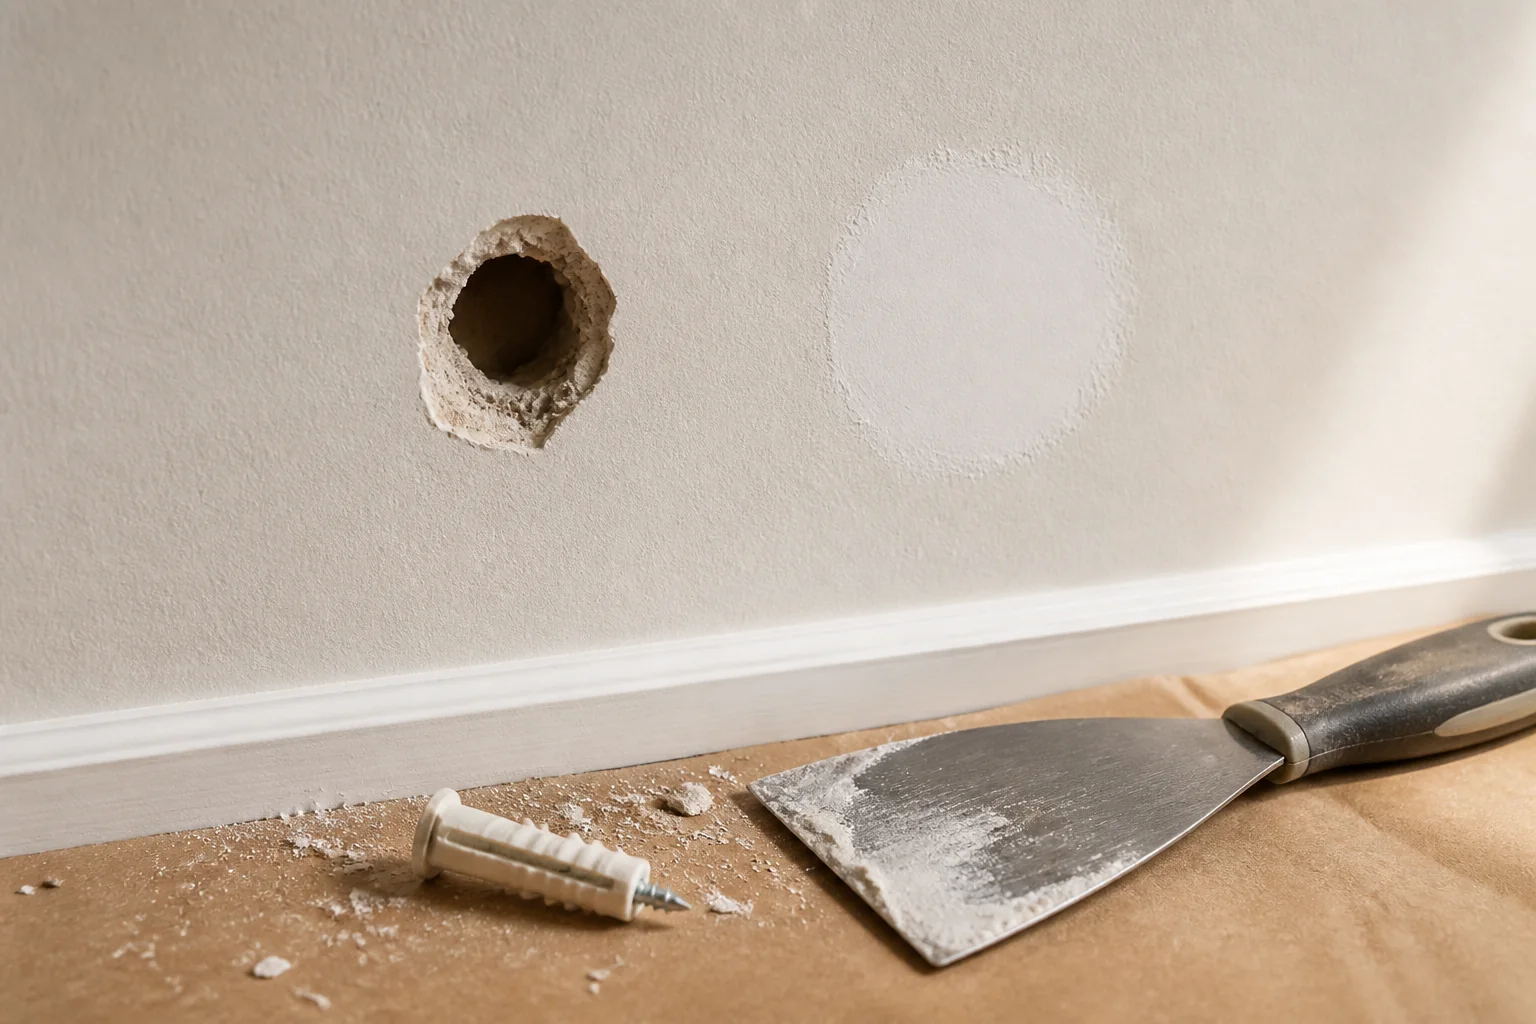
Remove the load first
Support and remove the mounted object. Take out the failed fastener without tearing a larger area, or recess it only when the repair system permits. Inspect for crushed gypsum, torn face paper, cracking or moisture damage.
Patch versus remount
Patch compounds restore the visible wall when used as directed; they do not automatically restore the original fastener capacity. For the new attachment, use a separate sound location, framing or a specifically approved repair and fastening method.
- Cosmetic repair follows the patch maker's instructions
- New fastener goes into sound, compatible material
- Bracket spacing and edge distance still apply
- Heavy or critical loads deserve professional evaluation
Avoid improvised fillers
Wood scraps, paper, adhesive and random plugs may appear tight during installation but offer no reliable published performance in damaged drywall. Do not treat initial tightness as proof of safe capacity.
Classify the damage
Remove the load and inspect a clean, well-lit area. A slightly enlarged round opening with intact face paper is different from a crater with crushed gypsum, branching cracks or several overlapping holes. Moisture staining, softness or mold-like growth moves the problem beyond a routine cosmetic patch.
Measure the visible damaged area rather than only the original anchor diameter. Gently check whether the surrounding paper is bonded; do not probe so aggressively that you enlarge the failure. Photograph the area and bracket spacing before deciding whether relocation is possible.
- Intact versus torn face paper
- Firm versus powdery gypsum
- Single versus overlapping openings
- Dry versus damp material
- Available sound location for remounting
Match the cosmetic repair to the hole
Small dents and clean holes may be filled with an appropriate patch compound according to its label. Larger openings can require reinforcement, a mesh or paper patch, backing or a piece of matching drywall. USG’s repair guidance distinguishes small defects from medium and large holes and calls for allowing coats to harden before finishing.
Feather compound beyond the repair, let it dry fully, sand with dust control and prime before painting. Matching texture and sheen often matters more visually than the center of the patch. In older painted homes, evaluate lead hazards before sanding or cutting.
- Remove loose material without widening sound edges
- Use a repair system sized for the opening
- Allow each coat to set or dry as directed
- Prime the patch before the finish coat
Design the remount independently
A smooth patch is not proof that the location can carry another anchor. Choose a new fastening point in sound, compatible material and maintain the bracket’s required spacing and edge distances. Framing or blocking may be the best solution for valuable, moving or consequential loads.
If relocation is impossible, do not invent a filler-based anchor. Look for a documented repair assembly accepted by the mount and fastener manufacturers, or have the wall opened and restored with proper backing. The repaired finish and structural attachment should each have a clear job.
Frequently asked questions
Can joint compound hold a new wall anchor?
Ordinary cosmetic compound should not be assumed to restore the original anchor capacity. Remount in sound material or use a documented repair system.
Can I insert a larger anchor in the same hole?
Only if its instructions accept the existing diameter and the surrounding wall remains sound.
Why does the patch flash through paint?
Unprimed compound can absorb paint differently. Feather, sand, remove dust and prime according to the repair-product guidance.
A practical next step
Before buying hardware, confirm the wall assembly and read the installation instructions for both the object and the exact fastener. If you need a starting category, use our Anchor Selector.
Sources and further reading
These primary and manufacturer resources support the safety and installation principles summarized above. Always use the current instructions for your exact product.
- Sheetrock Installation and Finishing Guide — USG
- Sheetrock Patch & Repair Panels — USG
- Lead-Safe Renovations for DIYers — U.S. Environmental Protection Agency