
Classify the opening
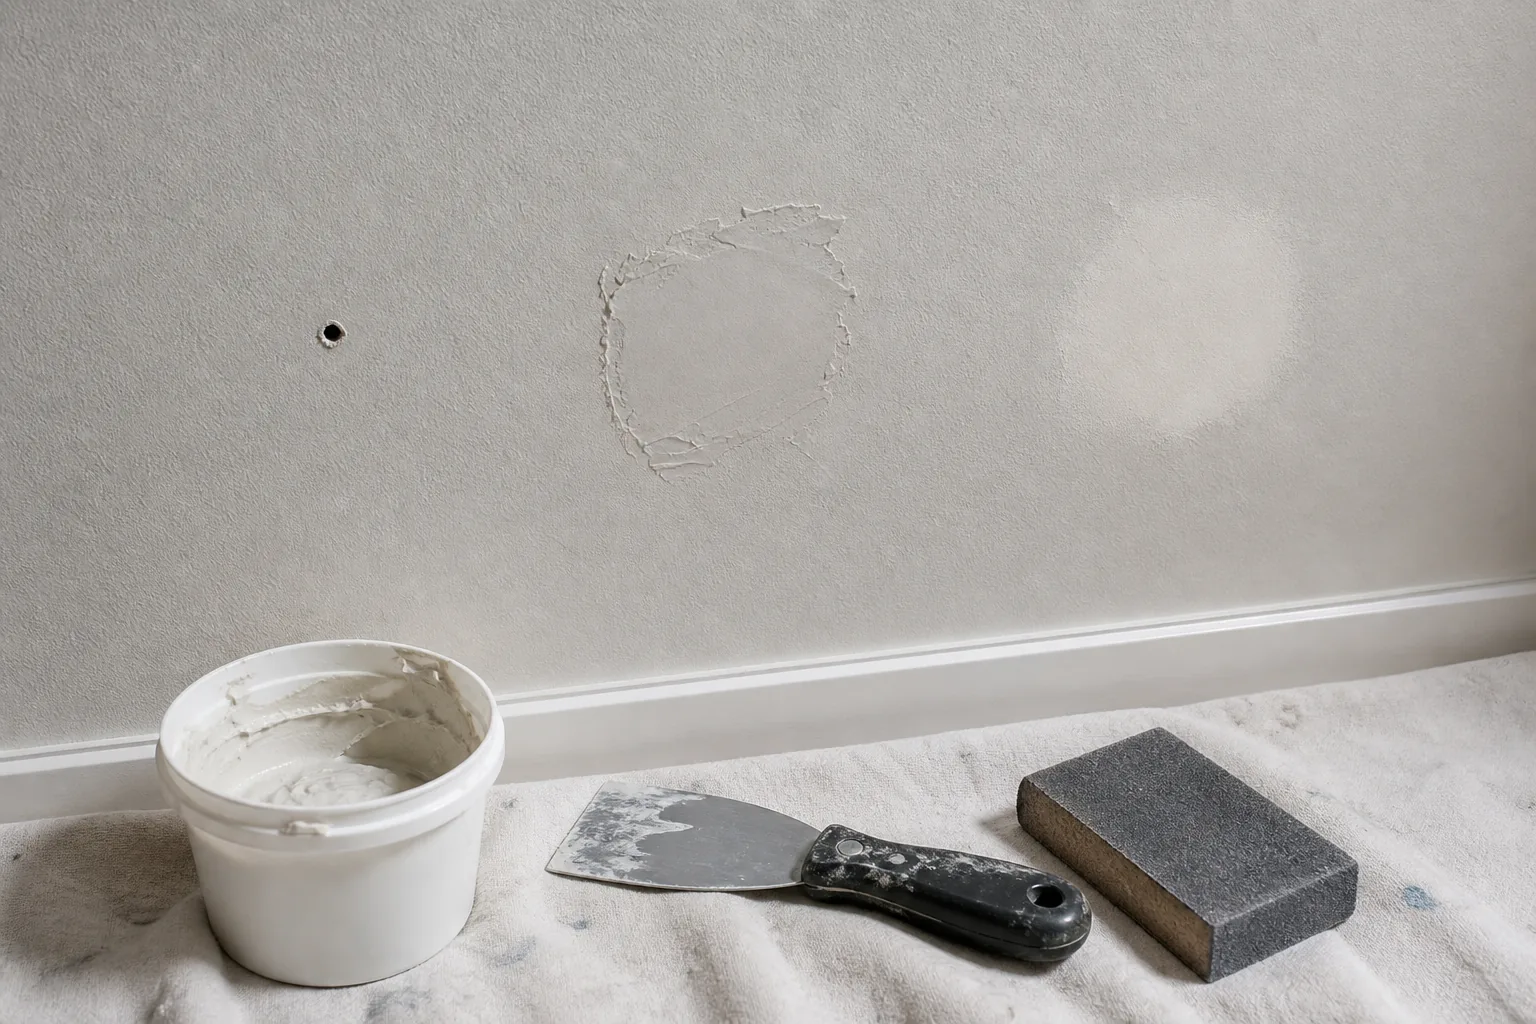
Remove loose hardware and inspect the wall in side light. Nail and pin holes may need only filling, while anchor holes can have torn paper and crushed gypsum beyond the visible diameter. A crack, soft area or moisture stain needs diagnosis before cosmetic repair.
Measure the damaged area and choose a patch product intended for that size and substrate. Do not bridge a large unsupported opening with repeated coats of filler; it may shrink or crack because the repair lacks support.
- Clean puncture
- Torn face paper
- Crushed or missing gypsum
- Crack or moving seam
- Moisture-related damage
Prepare stable edges
Remove protruding paper and loose gypsum with controlled cuts while preserving sound material. Recess a raised paper edge rather than sanding it into a fuzzy area. Wipe or vacuum dust as directed by the compound manufacturer.
Torn brown face paper may need sealing with a compatible problem-surface primer before water-based compound to reduce bubbling. Product systems differ, so follow the label instead of applying a universal sealer.
- Remove the anchor without enlarging the crater
- Trim only loose material
- Recess high edges
- Control dust
- Seal torn paper when the repair system calls for it
Fill in thin, controlled coats
Press compound into a clean small hole and draw the knife across at a low angle. For a deeper defect, several thin coats generally control shrinkage better than one heavy mound. Extend each finishing coat wider and thinner than the previous coat.
Allow the stated drying or setting time. Color at the surface does not always prove the center is dry. Keep the knife and pan free of hardened crumbs that can leave tracks across the finish.
- Use compatible compound
- Apply pressure to fill the void
- Feather beyond the damage
- Let each coat harden
- Scrape ridges before adding another coat
Sand and inspect without overworking
Use fine abrasive or a damp-sanding method approved for the compound. Sand the transition, not a hollow in the center. Shine light across the patch and feel the edge with a clean hand; a small ridge is more visible after paint than a broad feathered area.
Collect dust and avoid spreading it through HVAC. Wear protection appropriate to the material. Over-sanding can expose paper or create a dish that requires another skim coat.
- Use raking light
- Protect surrounding surfaces
- Keep sanding localized
- Remove all dust before primer
Prime, paint and separate remounting
Prime the repaired area with a compatible primer so compound and painted wall absorb the finish more uniformly. Match paint sheen and application texture; touch-up can remain visible when the existing coating has aged.
A cosmetic patch is not automatically a new anchor location. If the object must return, choose sound material, framing or a documented repair assembly. Keep the wall-finish task separate from the structural mounting decision.
Frequently asked questions
Why does drywall paper bubble under compound?
Loose or torn paper can absorb moisture and lift. Remove unstable paper and use the repair system’s recommended sealer.
Do small patches need primer?
Primer helps equalize porosity and reduces visible flashing through the finish paint.
Can I put an anchor into the patch?
Do not assume a cosmetic patch restores mounting capacity. Use sound material or a specifically documented structural repair.
A practical next step
Before buying hardware, confirm the wall assembly and read the installation instructions for both the object and the exact fastener. If you need a starting category, use our Anchor Selector.
Sources and further reading
These primary and manufacturer resources support the safety and installation principles summarized above. Always use the current instructions for your exact product.
- Sheetrock Installation and Finishing Guide — USG
- Sheetrock Patch & Repair Panels — USG
- Lead-Safe Renovations for DIYers — U.S. Environmental Protection Agency