
Calculate the actual service load
Include the shelf, mounting bracket and everything likely to be stored. Books, dishes, plants after watering and people leaning on a shelf can exceed the initial decorating plan. Also note shelf depth: weight near the front creates more leverage at the wall than the same weight close to the wall.
Write a conservative use plan and compare it with the shelf maker’s instructions. If the manufacturer limits the shelf to masonry or studs, hollow-wall anchors do not create an approved drywall installation.
- Shelf and bracket weight
- Maximum planned contents
- Shelf depth and item placement
- Chance of leaning, impact or repeated handling
- Consequences of falling
Understand the hidden bracket
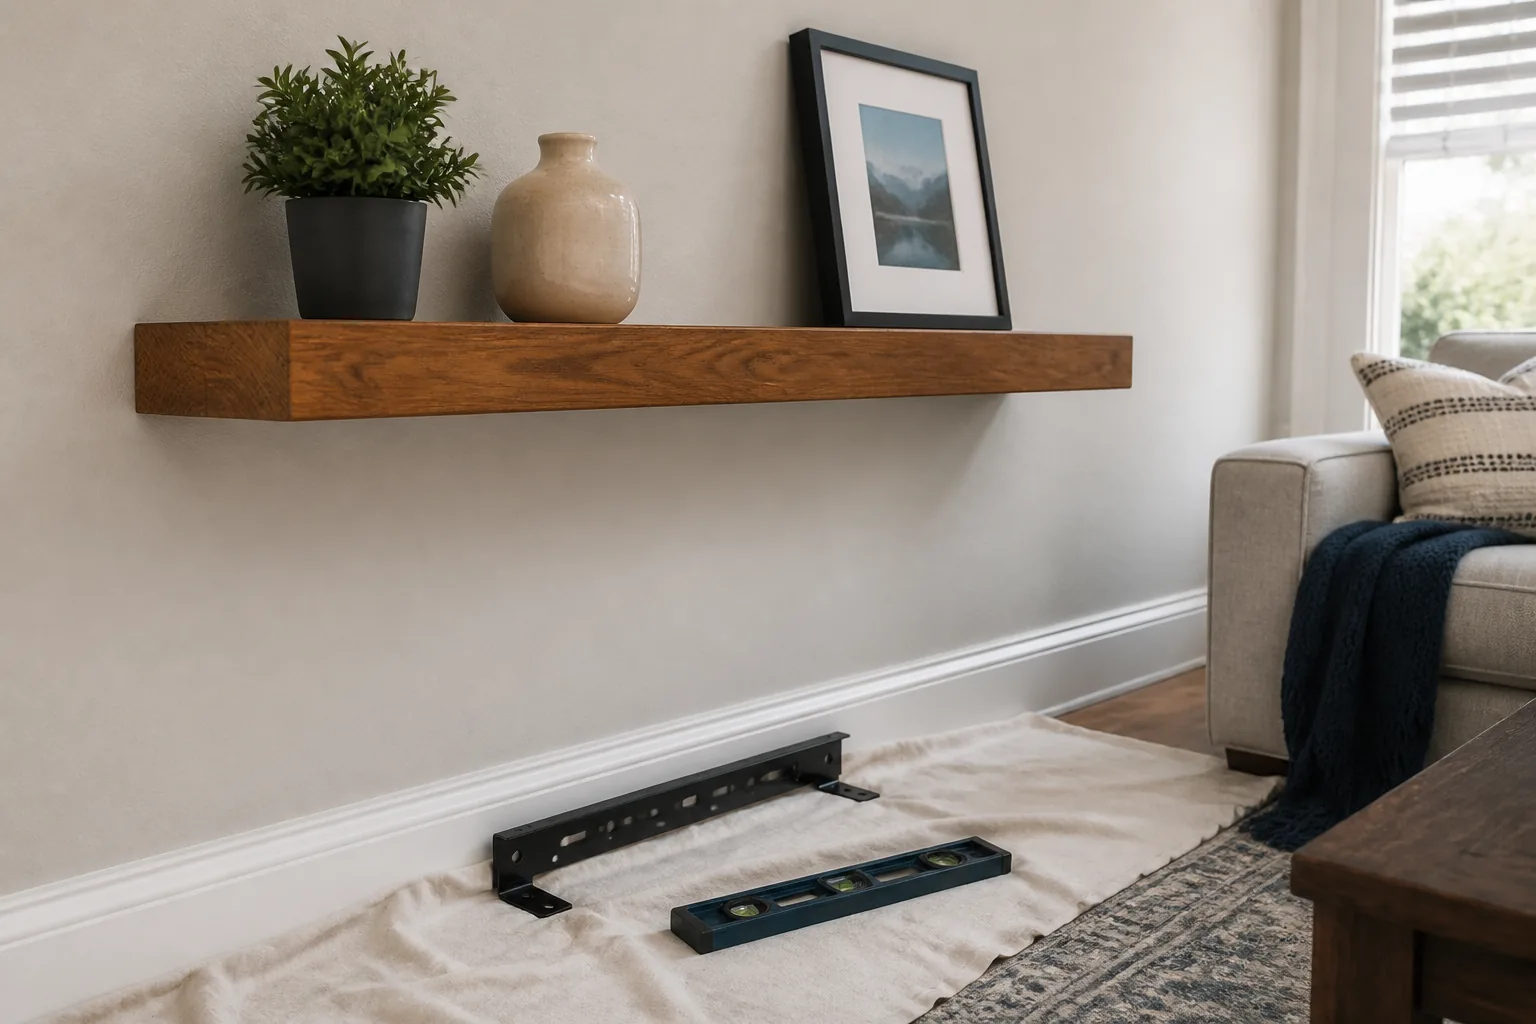
Floating shelves commonly slide over rods or a concealed frame. The wall plate must remain flat, and the rods must enter the shelf fully. A bowed plate, loose weld, undersized screw head or misaligned hole can prevent the shelf from seating even if the fasteners feel tight.
Measure the wall plate and mark every usable hole. Identify which holes can align with framing. Do not drill extra holes in a bracket unless the manufacturer permits modification, because doing so can weaken the part or void the installation method.
- Wall-plate length and hole pattern
- Rod length and shelf socket depth
- Required set screws
- Allowed bracket orientation
- Stud or blocking alignment
Choose and prepare the attachment points
Use studs or structural backing wherever required and practical. Confirm stud centers, calculate screw embedment after drywall and bracket thickness, and use the specified pilot holes. If an approved design uses hollow-wall anchors, verify board thickness, cavity clearance, anchor spacing and fastener compatibility.
Keep holes clear of suspected electrical and plumbing paths. Level the wall plate using its straight reference surface. A level shelf on an out-of-level bracket is difficult to correct after the anchors are set.
- Mark stud centers and bracket holes
- Check level before drilling
- Verify each fastener’s base material
- Use exact pilot diameters and depth
- Keep the wall plate flat while tightening
Assemble without masking a problem
Install the bracket and bring its fasteners up evenly. If one side lifts from the wall, stop and diagnose the hole, wall flatness and hardware stack rather than using the shelf to force it flat. Slide the shelf on without hammering and install retaining screws or clips.
Before loading, check for rocking, incomplete engagement and visible wall damage. Add contents gradually and keep heavier items close to the wall. Normal use should not involve sitting, climbing or pulling on the shelf.
- Seat the shelf fully
- Install every retainer
- Load gradually
- Place dense objects toward the back
- Recheck after the first week
Know the warning signs
A widening top gap, downward tilt, squeak, loose set screw, cracked paint or gypsum dust indicates movement. Unload the shelf immediately and support it before investigating. Tightening a failing anchor under load can enlarge the damage.
If the wall plate cannot be made secure in the available locations, change the shelf, add approved backing during a wall repair or choose a visibly bracketed system that can reach framing. Design should follow the wall, not force it.
Frequently asked questions
Why do floating shelves sag?
Possible causes include wall-plate movement, flexible rods, incomplete seating, excessive front-loaded weight or a shelf body that has deformed.
Can drywall anchors hold a floating shelf?
Only when the shelf maker permits them and the exact anchors are compatible with the wall and service load. Leverage makes generic weight claims inadequate.
Where should heavy objects sit?
Closer to the wall generally reduces leverage, but always stay within the shelf manufacturer’s use limits.
A practical next step
Before buying hardware, confirm the wall assembly and read the installation instructions for both the object and the exact fastener. If you need a starting category, use our Anchor Selector.
Sources and further reading
These primary and manufacturer resources support the safety and installation principles summarized above. Always use the current instructions for your exact product.
- Sheetrock Installation and Finishing Guide — USG
- General Electrical Safety Requirements — Occupational Safety and Health Administration