
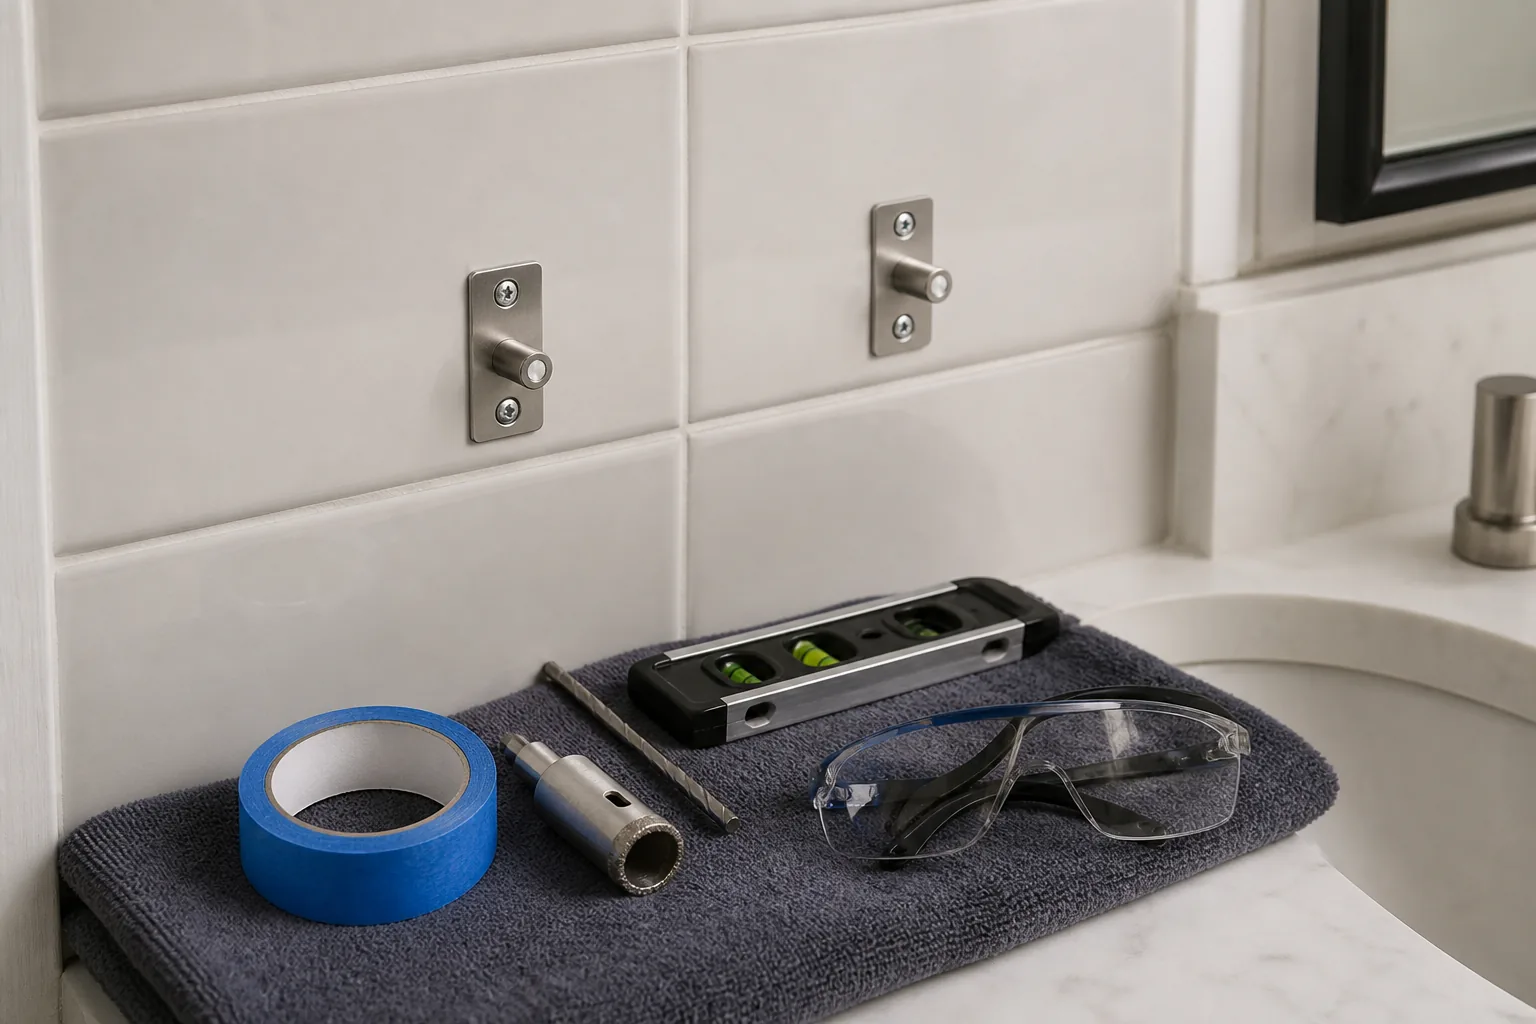
Identify the complete tiled assembly
Determine whether the tile is over cement board, foam backer, mortar bed, drywall or masonry. Review renovation records, an exposed plumbing opening or manufacturer documentation where available. Tile appearance and tap sound cannot identify every hidden layer.
Locate wet zones and waterproofing. Every penetration can become a water path if it is not detailed according to the system. Cracked, loose or hollow-sounding tile needs evaluation before drilling.
- Tile material and thickness
- Backer type
- Waterproofing system
- Framing or masonry location
- Wet-zone exposure
Separate finish drilling from structural fastening
The tile bit creates clearance through a brittle finish; the structural fastener must engage an approved substrate behind it. Do not count the tile thickness as wood embedment, and do not let an expansion anchor bear on a tile edge unless the instructions explicitly describe that assembly.
Choose the hole diameter from both the fixture and fastener instructions. The clearance hole through tile may differ from a pilot hole in wood or an anchor hole in masonry. Plan the sequence before starting so a mismatched bit does not enlarge the entire opening.
- Fixture clearance hole
- Backer or framing pilot
- Fastener embedment
- Washer or gasket
- Sealant required by the system
Choose a low-risk hole location
Avoid tile edges and corners unless the instructions specify a distance. Mark with removable tape if suitable for the finish and prevent the bit from skating. Confirm plumbing and electrical risk on both sides of the wall, especially around valves, shower controls, niches and outlets.
A grout joint may be easier to repair but is not universally the correct structural location. The fastener must still reach approved backing, and penetrated waterproofing must still be treated correctly.
- Check edge distance
- Verify bracket alignment
- Locate pipes, valves and wiring
- Confirm backing before drilling
- Plan water sealing
Drill without shocking the tile
Use a bit and speed suitable for the tile material. Start without hammer action on brittle tile and keep the bit cool only in the manner recommended by the tool and bit maker. Apply steady, moderate pressure and keep the drill square.
Once through the tile, stop and switch bits or modes only if the substrate instructions require it. Do not plunge into the cavity at full speed. Vacuum dust and inspect for cracks before inserting hardware.
- Wear eye protection
- Control bit wandering
- Avoid impact mode on tile
- Limit depth
- Stop at unexpected resistance
Seal, tighten and maintain
Apply the specified sealant or gasket to protect the penetration, while keeping sealant out of areas where it would interfere with anchor action. Tighten the fixture evenly so it seats without point-loading or cracking the tile.
Allow sealants to cure before exposure. Periodically inspect for movement, cracked grout, staining or failed sealant. Unload and repair any moving fixture promptly; water entering behind tile can create damage that remains hidden until it is extensive.
Frequently asked questions
Can I use hammer mode on tile?
Generally start tile drilling without hammer action; use the bit maker’s instructions and change modes only after reaching a compatible substrate.
Is grout safer to drill than tile?
Not automatically. Structural backing, edge distance and waterproofing matter more than ease of repair.
Can drywall anchors support a grab bar?
Do not use ordinary anchors. Grab bars require an approved installation and suitable structural support according to the exact product.
A practical next step
Before buying hardware, confirm the wall assembly and read the installation instructions for both the object and the exact fastener. If you need a starting category, use our Anchor Selector.
Sources and further reading
These primary and manufacturer resources support the safety and installation principles summarized above. Always use the current instructions for your exact product.
- CYL-1 Masonry Drill Bit Guidance — Bosch Professional
- General Electrical Safety Requirements — Occupational Safety and Health Administration